Upcycle Your OMTech Crate Into a Laser-Cut Toolbox

For most of our customers, the moment your OMTech laser engraver arrives is a cause for celebration. Nothing beats a big machine delivered in a nice, big package. But instead of getting rid of the gift wrap, why not turn your OMTech crate into something functional, creative, and uniquely yours?
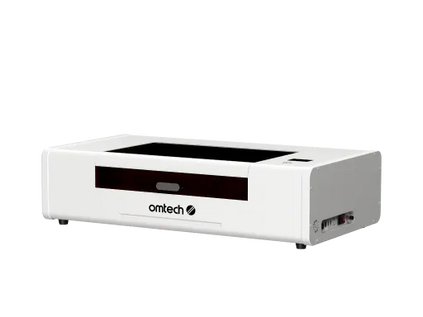
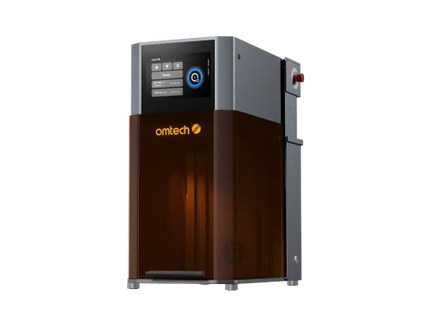
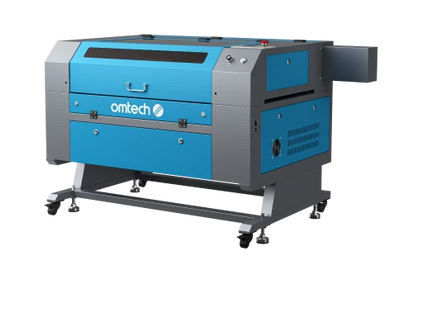
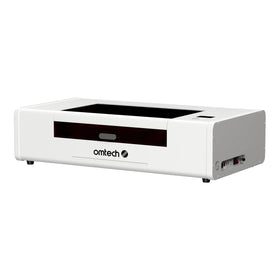
In this step-by-step guide, we’ll show you how to upcycle your OMTech Polar 50W crate into a custom laser-cut toolbox. You can also try this with the Polar+ and other CO2 laser machines as well. This guide is fully compatible with the Polar+ since its dimensions match the Polar 50W. For all other CO2 machines, you may need to resize the file.
Turn your package into your first laser engraving project for a practical storage solution. Let’s get started!
Materials Needed
1. Four side panels from the packaging crate.

2. Screws:
-
8 x M3×30 screws (or longer)
-
8 x M3 nuts
-
32 x M3×25 self-tapping screws (or longer)

Preparation
1. This tutorial uses unpunched and unprinted wood panels. To dismantle your crate, use a pry bar or hammer to remove nails or any metal pieces (wear gloves to prevent injury). Remove extra wooden strips from the inside. After assembly, you can add a soft fabric lining inside the box to avoid injuries. Wipe off dust and debris from the surface to ensure clean cuts.
2. Label each board to avoid cutting mistakes. The two smaller panels are A and B (350 × 690mm). The two larger ones are C and D (350 × 1150mm).

3. Download the SVG design file.
-
The blue lines show the board outlines (do not cut).
-
The black lines and black squares are the areas to be cut.
-
If the line colors change in LightBurn, be careful to identify them correctly.
-
You can replace the OMTech logo with your own design.

Detailed Assembly Instructions

Step 1: Cut Panels A–D into Smaller Pieces
1. Remove the drawer from the Polar to accommodate the large crate panels.

2. Cut the black lines only in the Step 1 diagram.

3. Insert each board vertically into the machine, aligning with the top and honeycomb frame.

4. Use LightBurn software to adjust the design file and control the laser. You have two methods:
Method 1:
-
Import the SVG.
-
Use Ctrl + scroll to zoom and drag only the cut area into the workspace.

-
For example, when cutting board A, delete everything except the black line between A1 and A2.

-
For the Polar 50W, set speed: 4mm/s, power: 100%, mode: Line. These parameters apply to all boards that need cutting.
-
Use Frame to preview, then click Start.
Method 2:
-
Keep the lines for board A in the central workspace.

-
Turn off Output for all layers except the one with the black line in the Cuts/Layers window.

-
If the machine is connected and the camera is calibrated, align the blue border with the edge of the wood panel.
-
Use Frame to preview, then click Start.
5. Repeat for all boards. Final layout:
-
Boards A/B (350×690mm): Cut into 350×190mm and 350×500mm → A1, A2, B1, B2
-
Boards C/D (350×1150mm): Cut into 350×300mm, 350×550mm, 350×300mm → C1, C2, C3, D1, D2, D3

Tips:
-
Colors may change when importing SVG into LightBurn—double-check before cutting.
-
Support the extended boards outside the machine with weights to ensure they are flush with the honeycomb bed, thus avoiding incorrect focus.
Step 2: Cut the 10 Small Boards
1. Reinsert the drawer into the machine.
2. Insert A1 and cut only the black lines (in LightBurn, these may appear blue). Remove all layers except the cutting lines.

3. Use Frame to verify placement.
4. Click Start to cut.
5. Repeat this method for all boards.
-
For A2, B2, C1, C3, D1, D3, do the same but rotate the design 90° (via the Rotate tool in LightBurn).

-
For the OMTech logo on B2, use a speed of 500mm/s, 40% power, and Fill mode on the Polar 50W machine.
6. After cutting, remove excess material and keep the individual components.


Step 3: Assemble the Toolbox

1. Lower Box Assembly:
-
Place A2 on the bottom.
-
Attach B2’s two pieces to the front and back.
-
Attach A1 and C1 to the sides.
-
Use self-tapping screws to secure.

2. Upper Boxes Assembly:
-
Box 1 (C2 + C3):
-
Use the center panel from C2 as the base.
-
Attach the other two pieces to front and back.
-
Use C3’s pieces on the sides.
-
Secure with self-tapping screws.

-
Box 2 (D2 + D1):
-
Follow the same method as above using D2 and the larger panels from D1.
-
Secure with self-tapping screws.

3. Install Hinges:
-
Attach D3’s round hinge, connecting to D1 and B1's linkage holes.
-
Align square holes across all three layers.
-
Use M3×30 screws and nuts to fasten.
-
First secure the bottom box, then the top. Once installed, the toolbox opens and closes properly.

Build, Store, and Create with OMTech

Turning your OMTech crate into a laser-cut toolbox isn’t just about saving wood—it’s about practicing sustainability, flexing your creativity, and embracing the maker mindset. Projects like this show how laser engraving can be more than just cutting and etching—it’s about innovation, problem-solving, and bringing new value to materials that might otherwise be discarded.
At OMTech, we’re passionate about empowering makers, educators, and small businesses to create more and waste less. From beginner-friendly CO₂ machines to advanced engraving tools, OMTech offers reliable, affordable laser systems to bring your ideas to life.
Got a great idea for your crate? Drop a link to your project in the comments! We love seeing how you upcycle.
Have a specific project idea you want us to try next? Let us know in the comments—we're always looking for our next crate project!
