








How to Upgrade Your Laser Engraver with Air Assist
Disclaimer: This guide is provided by an OMTech user. OMTech advises that any unauthorized modifications to the machine may void the warranty. Users are strongly cautioned to exercise extreme care and proceed at their own risk when implementing any adjustments or alterations not explicitly documented by OMTech.
Upgrading your laser engraver with an air assist system can significantly improve its performance and the quality of your engravings. This guide will walk you through the process of installing an air assist system on your laser engraver, discuss the advantages of this upgrade, and provide a detailed list of tools and steps required.
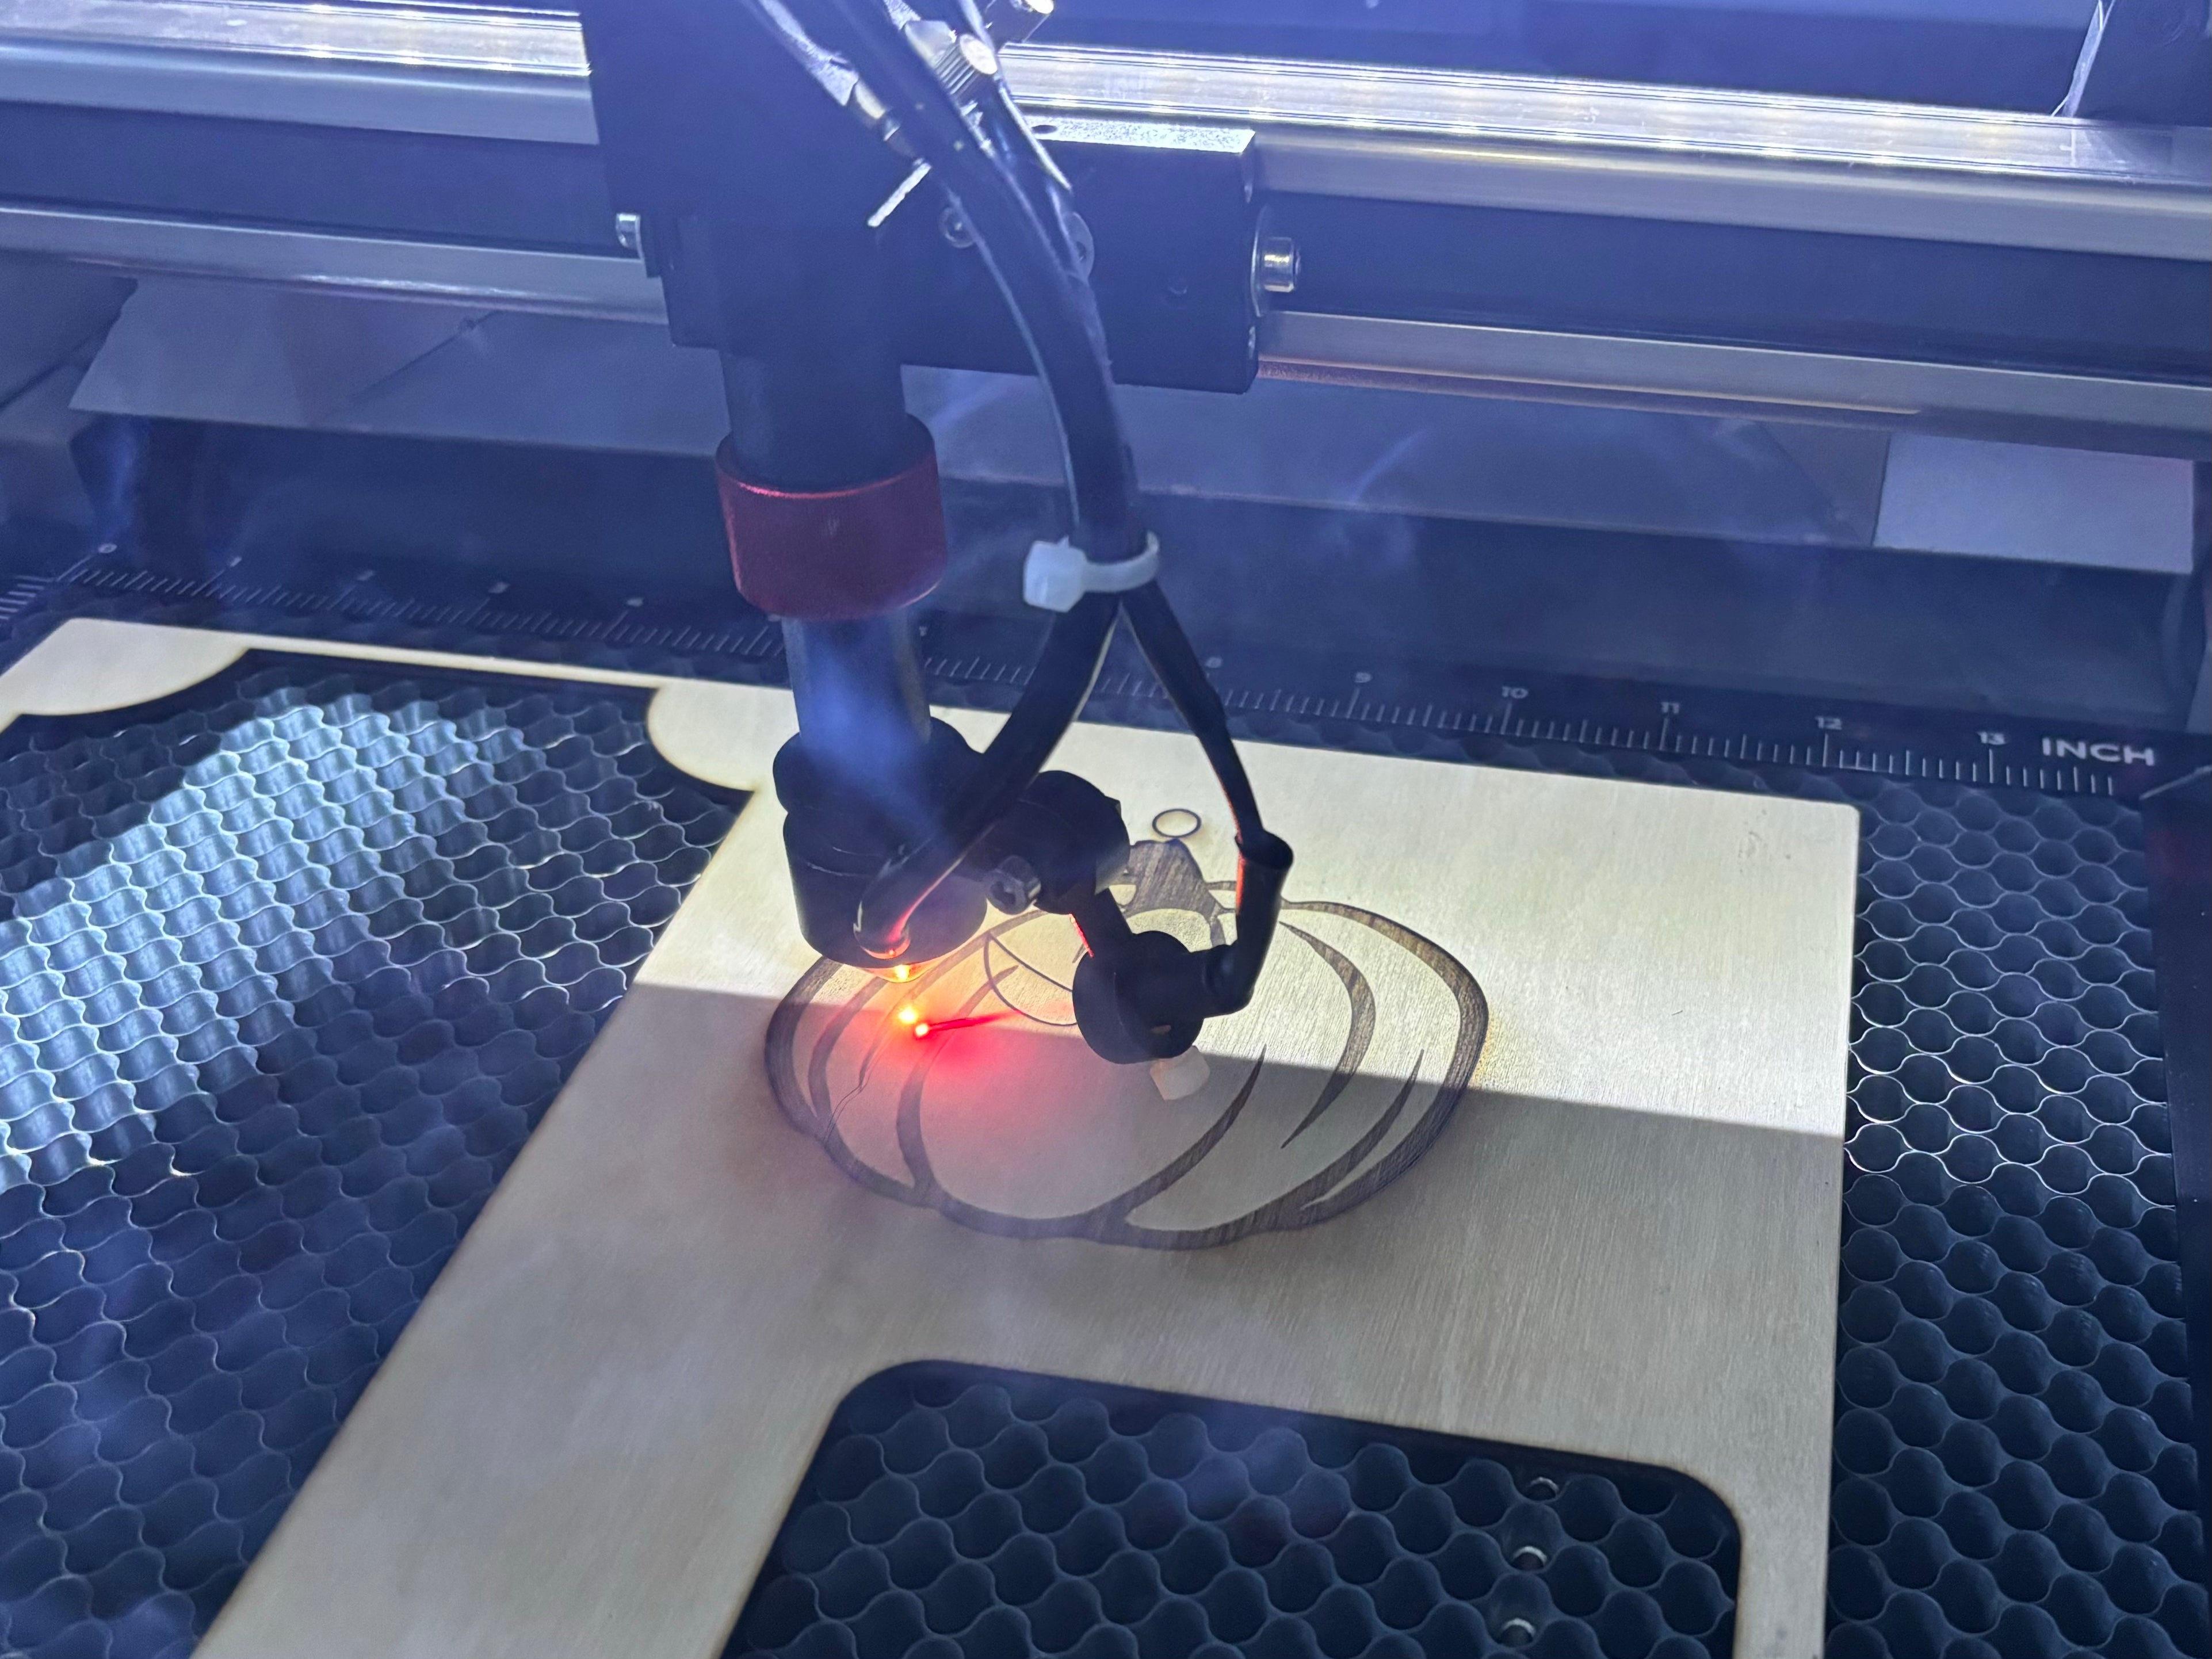
Advantages of Air Assist
Having a laser engraver with an air assist system offers numerous benefits that can significantly improve your engraving and cutting results. This enhancement can transform your workflow and output quality, making it a valuable addition to your laser engraving setup. Adding air assist to your laser engraver will:
- Cleaner Lens: The constant airflow keeps the laser lens free from debris and smoke, maintaining optimal focus and performance.
- Reduced Flare-ups: Air assist helps dissipate heat quickly, reducing the risk of small fires when working with flammable materials.
- Improved Precision: By blowing away smoke, air assist provides a clearer path for the laser beam, resulting in more accurate cuts and engravings.
- Cleaner Cuts: The airflow cools the edges of cuts, reducing charring and heat-related discoloration, especially beneficial for materials like wood or acrylic.
- Minimized Burn Marks: Constant airflow cools the surface as the laser moves, reducing scorching on both top and bottom of the material.
- Increased Speed: Better heat and debris management often allows for faster engraving and cutting speeds without sacrificing quality.
- Reduced Maintenance: By keeping the lens and work area cleaner, air assist can reduce the frequency of required maintenance.
Tools and Materials Needed
- Air compressor or air pump
- ¼” solenoid air valve
- ¼” air filter pressure regulator
- Air tubing (appropriate diameter for your setup)
- ¼” brass female air coupler
- ¼” male straight connect fittings
- Zip ties or cable management solutions
- Screwdriver set
- Allen wrench set
- Drill and drill bits (if modifications to the machine are necessary)
- Teflon tape
- Adjustable wrench
- Wire strippers (if electrical connections are needed)
- Multimeter (for testing connections)
For superior air control and simplified setup, the OMTech Smart High-Low Pressure Airway Module replaces the separate solenoid valve and air filter pressure regulator.
Installation Steps
Step 1: Prepare Your Workspace

- Ensure your laser engraver is unplugged and cool.
- Clean your work area and gather all necessary tools and materials, including your air compressor.
Step 2: Remove the Stock Air Pump

- Turn off the machine and locate the stock air pump.
- Cut the stock air tubing as close to the pump as possible.
- Disconnect or cut the wires connected to the stock air pump.
- Remove the stock air pump from the laser cabinet.
Step 3: Install the Solenoid Valve

- Apply Teflon tape to the threads of two male push-to-connect fittings.
- Screw these fittings into both sides of the solenoid valve.
- Mount the solenoid to the outside of the laser cabinet using strong double-sided tape.
Step 4: Install the Air Filter and Regulator

- Apply Teflon tape to the threads of two more push-to-connect fittings.
- Attach these fittings to both sides of the air filter/regulator.
- Mount the regulator to the wall or the outside of the laser cabinet.
Pro Tip: Elevate Your Air Assist with Automatic High/Low Pressure
While the solenoid setup allows for simple ON/OFF control, true precision requires varying air pressure. For the ultimate upgrade, consider the OMTech Smart High-Low Pressure Airway Module.

Replacing two separate solenoids/regulators, this single, fully integrated module automatically delivers precision airflow for engraving and cutting. It intelligently switches between a high-pressure blast for deep cutting (clean edges, minimal charring) and a gentle, low-pressure flow for delicate engraving (no smudging, cleaner detail), selecting the correct pressure based on your job's power settings. It’s the next-level solution for hands-off, perfect results.
Step 5: Connect the Air Tubing
- Connect a length of tubing from the compressor to the "in" side of the regulator.
- Run tubing from the "out" side of the regulator to the "in" side of the solenoid.
- Connect the existing air tube from inside the laser to the "out" side of the solenoid.
- If needed, drill a small hole in the back of the laser cabinet to route the tubing.
Step 6: Wire the Solenoid

- Cut appropriate lengths of red and black wire to reach from the solenoid to the controller.
- Connect these wires to the solenoid (red to positive, black to negative).
- Route the wires to the laser's control board.
- Connect the red wire to the "24V" terminal and the black wire to the "Wind" terminal on the controller.
Step 7: Configure the Software

- Open your laser control software (e.g., Lightburn).
- Access the machine settings.
- Find the "Vendor Settings" section.
- Locate "Enable Air Assist Output" and change it from "False" to "True".
- Save the settings.
Step 7: Test the System

- Turn on your air source and check for any leaks in the connections.
- Adjust the air pressure to the recommended level for your engraver and materials.
Step 8: Perform a Test Engraving
- Run a test engraving or cutting job to ensure the air assist is functioning correctly.
- Observe the improvement in cut quality and reduced burn marks.
Step 9: Fine-tune the Setup
- Adjust the air pressure and nozzle position as needed based on your test results.
- Different materials may require different air pressure settings.
Step 10: Maintain the System
- Regularly check air connections for leaks.
- Clean the air nozzle periodically to ensure optimal performance.
- Replace air filters in your air source as recommended by the manufacturer.
Upgrading Your Laser Engraver With Air Assist: Why It Works
Upgrading your laser engraver with an air assist provides dramatic improvements: it delivers cleaner cuts with minimal charring, accelerates cutting speeds, protects the focusing lens from smoke damage, and drastically reduces fire hazards when working with combustible materials like wood.
Key Advantages of Upgrading Your Laser Engraver With Air Assist
- Superior edge quality: By forcefully blowing away smoke and vaporized material, the laser has a clear, unobstructed path to the material. The advantage here is that this eliminates the "ghosting" or "halo" effect around cuts and reduces soot on engravings.
- Engraving is faster and deeper: Clearing debris from the kerf (the cut slot) prevents the laser from wasting energy burning through smoke. This will let you cut thicker materials or use fewer passes, which significantly speeds up project times.
- The lens is better protected: Smoke rising into the laser nozzle can quickly coat the focusing lens in residue. A constant stream of air creates a positive pressure barrier, keeping the lens clean and preventing it from cracking due to heat absorption.
- Better fire safety: Cutting with a laser reaches intense temperatures. Air assist cools the cutting zone and instantly extinguishes the small flames that frequently pop up, a feature many users highlight as a critical safety feature.
3 General Methods to Upgrade Your Laser Engraver With Air Assist
Option 1: The Budget Route (Aquarium / Commercial Pond Pumps)
If you are running a diode laser (like an xTool, Sculpfun, or Ortur) or replacing a weak stock CO2 pump, try commercial-grade pond/aquarium air pumps.
- The go-to hardware: Look for a commercial diaphragm air pump (some popular brands are VIVOSUN or EcoPlus) rated for at least 60W to 100W, providing roughly 70L/min to 110L/min of airflow. A standard $20 fish tank pump will not provide enough static pressure.
- The nozzle: If your laser module didn't come with an air assist nozzle, you can 3D print one from Thingiverse or buy a machined aluminum nozzle aftermarket (e.g., from GeeksAtLarge or Cloudray).
- Insight: This option is cheap, relatively quiet, and runs continuously without burning out. However, it does not offer software control out of the box unless paired with an external relay module.
Option 2: The "Ultimate" Route (Shop Air Compressor)
For heavy wood cutting (MDF, thick plywood), a basic air pump often falls short. The definitive upgrade is connecting your machine to an actual workshop air compressor.
- The go-to hardware: Users highly recommend a California Air Tools quiet compressor. They run much quieter than standard compressors and won't disrupt your workspace. A tank size of 8 to 20 gallons prevents the motor from cycling continuously.
- The critical component: You must install an oil/moisture separator filter right before the air line hits your laser. If any moisture or compressor oil vapor touches your laser lens, the laser energy will bake it instantly, destroying the lens.
- Pressure settings: A running 1–3 PSI for engraving (just enough to keep the lens clean) and ramping up to 10–15 PSI for wood cutting.
Option 3: Dual-Pressure Automation (The Cloudray Style Mod)
A major pain point is manually babysitting a project to switch the air on and off between engraving and cutting passes. The "Ultimate Air Assist" mod solves this via hardware logic using LightBurn software:
- The setup: Wire a 12V/24V solenoid valve to your laser controller's or pin.
- The bypass line: Install a T-junction with a manual needle valve bypassing the solenoid.
- The workflow when engraving, the solenoid is closed. Air forces through the needle valve at a tiny, gentle hiss (0.5 PSI) to keep the lens smoke-free without messing up the engrave finish. When cutting, LightBurn triggers the solenoid to open, unleashing a full 15 PSI blast straight down the nozzle to blow out char and soot.
Frequently Asked Questions About Upgrading a Laser Engraver With Air Assist
1. What does air assist do on a laser engraver?
Air assist directs a constant stream of compressed air at the laser's focal point while cutting or engraving. This airflow removes smoke, dust, and vaporized debris from the cutting area, helping the laser maintain a clear beam path. The result is cleaner cuts, sharper engravings, reduced charring, improved cutting efficiency, and better protection for the laser lens.
2. Is air assist worth upgrading on a laser engraver?
Yes. Upgrading to a higher-performance air assist system is one of the most cost-effective improvements you can make to a laser engraver. It improves cut quality, increases cutting speed, reduces burn marks, extends the life of the focusing lens, and significantly lowers the risk of flare-ups when cutting combustible materials such as wood, MDF, cardboard, or leather.
3. Does air assist improve engraving quality?
Yes, although the benefits vary depending on the material and application. During engraving, air assist removes smoke before it can settle back onto the workpiece, reducing soot and improving contrast. However, some materials produce darker engravings with very low airflow, which is why many users reduce air pressure during engraving and increase it only for cutting.
4. Can air assist cut thicker materials?
Air assist doesn't increase your laser's power, but it makes that power more efficient. By clearing debris from the kerf, the laser beam can penetrate material more effectively, often allowing you to cut thicker materials, reduce the number of passes, or increase cutting speeds compared to engraving without air assist.
5. What's the difference between an air pump and an air compressor for laser engraving?
An air pump provides a continuous, low-pressure airflow and is ideal for hobby lasers, diode lasers, and light-duty CO₂ laser engraving. An air compressor delivers much higher pressure, making it the preferred choice for cutting thicker plywood, MDF, hardwood, and other demanding materials. Compressors typically require moisture and oil filtration to protect the laser optics.
6. Can I use a regular aquarium pump for air assist?
Only if it provides sufficient airflow. Small aquarium pumps designed for fish tanks usually lack the pressure needed for effective laser cutting. Instead, choose a commercial diaphragm air pump specifically designed to deliver higher airflow and static pressure for laser engraving applications.
7. How much air pressure should I use for laser engraving?
The ideal pressure depends on your project. Many users operate at very low pressure (around 0.5–3 PSI) when engraving to keep the lens clean without affecting engraving quality. For cutting wood and similar materials, higher pressures (typically around 10–15 PSI) help remove debris, reduce charring, and minimize the chance of flames.
8. Does air assist reduce fire risk?
Yes. One of the biggest safety advantages of air assist is its ability to suppress small flames that can develop during laser cutting. By cooling the cutting area and continuously blowing away combustible gases, air assist helps reduce the likelihood of sustained flare-ups. However, you should never leave a laser engraver unattended while it is operating.
9. Can LightBurn automatically control air assist?
Yes, many laser engravers and controllers support automatic air assist through LightBurn. By connecting a compatible solenoid valve to the controller, the software can activate high-pressure airflow only during cutting operations while using lower airflow during engraving. This improves both engraving quality and cutting performance without requiring manual adjustments.
10. Will air assist extend the life of my laser engraver?
Yes. Air assist helps keep smoke and debris away from the laser nozzle and focusing lens, reducing contamination that can absorb laser energy and damage the optics over time. Cleaner optics require less maintenance, deliver more consistent performance, and can help extend the lifespan of your laser system.
11. Do all laser engravers need air assist?
Most CO₂ laser engravers benefit greatly from air assist, and many include it as a standard feature. Diode laser engravers can also see substantial improvements after adding an air assist system, particularly when cutting wood, acrylic, leather, or cardboard. Whether you're using a hobby machine or a professional laser, air assist is one of the most valuable upgrades for improving performance and safety.
Final Thoughts on Upgrading Your Laser Engraver With Air Assist
By following these steps, you can successfully upgrade your laser engraver with an air assist system. This upgrade will improve the quality of your engravings and cuts, reduce maintenance, and potentially increase your working speed. Remember to always follow safety guidelines and consult your laser engraver's manual before making any modifications.
Want to take your laser engraver setup to the next level? Most of our OMTech laser engraver machines, such as the OMTech Pronto, Pro, and Maker series, are outfitted with air assist, making your laser endeavors even easier. Instead of having to install the air assist yourself, you can invest in an all-inclusive laser engraver/cutter that features cutting-edge tech to boost your machine’s performance and precision. Get started with OMTech today, where innovation meets affordability. Your creative journey is just a few steps away!





