Laser Cut Pumpkin Guide for Halloween
Halloween season brings out creativity in full force, and nothing screams spooky season like a perfectly carved pumpkin. But what if you could skip the messy carving tools and traditional knives, and instead create intricate, jaw-dropping designs with a laser cutter?
Laser cutting pumpkins is not only possible—it’s one of the most satisfying and efficient ways to take your pumpkin art to the next level. Whether you’re engraving logos, horror icons, or creating custom Halloween decorations, a CO₂ laser engraver gives you unparalleled precision and ease.
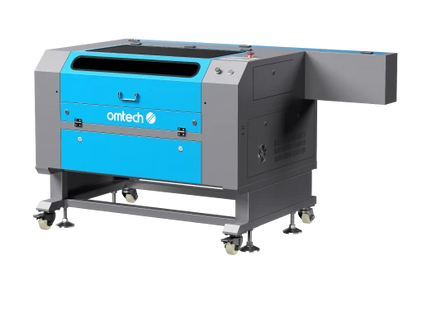
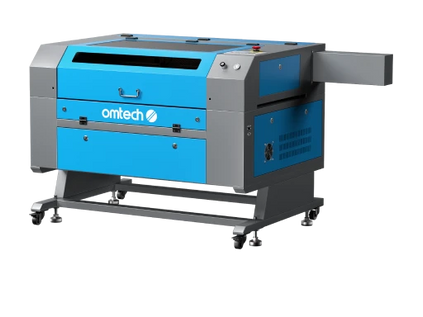
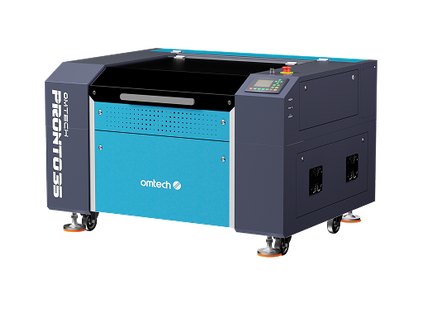
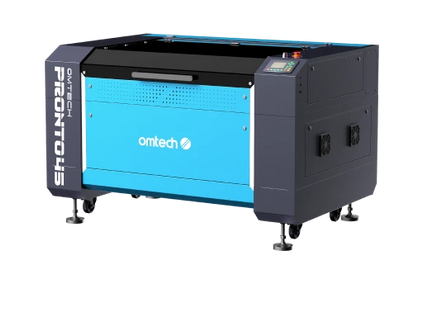
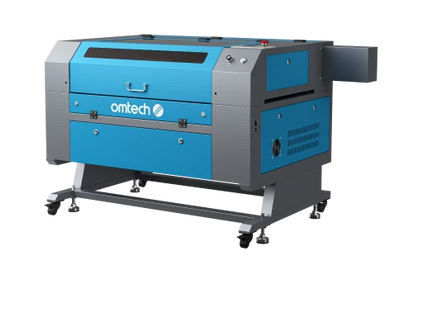
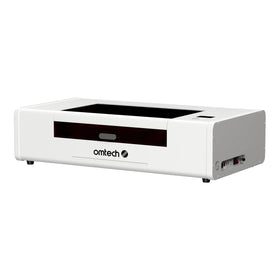
In this guide, you’ll learn how to laser cut pumpkins step-by-step, what settings work best, and creative ideas to bring your Halloween vision to life. We’ll also share why OMTech CO₂ laser engravers are ideal for carving thick, natural materials like pumpkins.

Why Use a Laser Cutter on Pumpkins?
Traditional pumpkin carving is fun—but it’s time-consuming, messy, and limits how detailed your designs can be. With a CO₂ laser cutter, you can:
-
Cut complex patterns quickly and cleanly
-
Avoid dangerous tools like knives and blades
-
Add engraving details like shading or text
-
Customize dozens of pumpkins for parties or displays
-
Use digital designs for consistent results
Laser cutting also unlocks design possibilities that are nearly impossible with hand tools, including fine text, logos, portraits, and pop culture scenes.
What Type of Laser Engraver Do You Need?

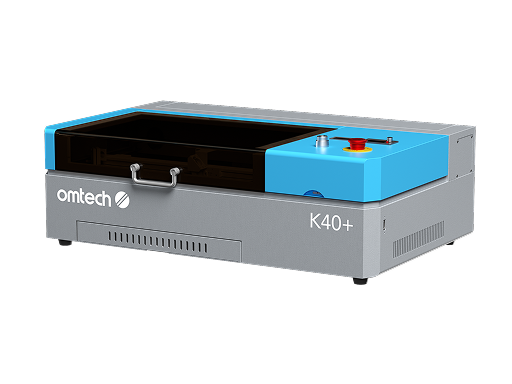
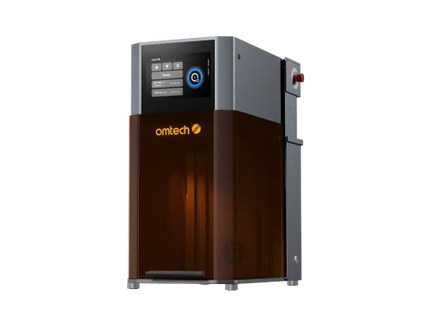
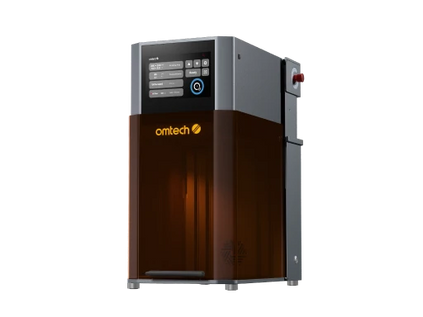
To laser cut or engrave a pumpkin, you’ll need a CO₂ laser engraver. These lasers are excellent for natural, organic materials and can handle thick pumpkin flesh with ease.
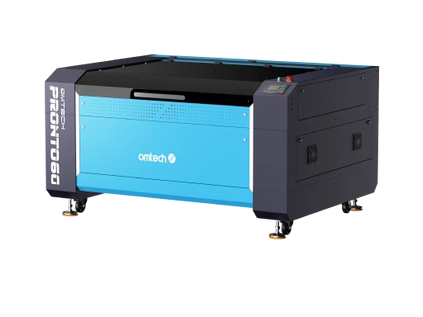
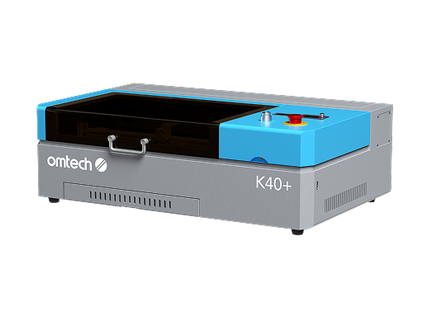
Because pumpkins are thick and contain moisture, it’s important to use high power and low speed settings. Lower-power machines may struggle with deeper cuts, so 40W and above is ideal. A 60W machine provides optimal results.
Laser Settings for Pumpkins
When working with pumpkins, the outer shell and thick interior require slower, deeper cuts than traditional wood or acrylic. Here are two sample settings used on a 60W CO₂ laser:
-
Cut 1 (Outline Cuts):
-
Power: 100%
-
Speed: 3%
-
Points Per Inch (PPI): 500
-
Cut 2 (Detail/Deeper Cuts):
-
Power: 100%
-
Speed: 0.5%
-
PPI: 500
These settings help cut through the full thickness of the pumpkin, especially for detailed designs. Always test your specific machine’s capabilities with a practice piece before going full scale.
How to Laser Cut a Pumpkin: Step-by-Step Guide
Step 1: Choose the Right Pumpkin
Select a medium to large pumpkin with a relatively flat surface. A smoother surface helps keep the laser in focus and ensures even results. Clean the surface with a damp cloth to remove dirt and debris.
Step 2: Prepare the Pumpkin
Cut open the top or bottom of the pumpkin and scoop out the insides. Remove seeds and excess pulp to avoid smoke and flare-ups during the cut. Dry the inner walls with paper towels.
Step 3: Secure the Pumpkin
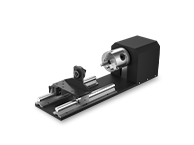
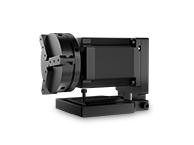
Because pumpkins are round, you’ll want to support them properly inside the laser bed. Use foam blocks or wedges to prevent rolling. If you have a rotary suitable for the size of your pumpkin, this will help ensure your designs are in focus across the entire surface of the pumpkin.
Step 4: Upload Your Design
Use vector files like SVG or AI for best results. These allow for clean, scalable cuts and are compatible with LightBurn and similar software. You can download ready-made Halloween templates or design your own.
Step 5: Adjust Focus and Settings
Manually set your laser’s focus to the center of the engraving area. For deeper or thicker cuts, you can refocus the laser mid-job or set multiple passes. Input your speed and power settings (start with Cut 1 and test from there).
Step 6: Run a Test Cut
Use a small design or test piece of pumpkin skin to dial in your settings. Check the depth and clarity of the cut or engrave. Adjust speed or power if needed before committing to the full design.
Step 7: Start the Engraving
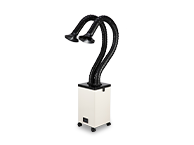
Once everything is positioned and focused, begin your laser job. Stay nearby to monitor for smoke, shifting, or misalignment. A ventilation system is helpful to reduce smoke buildup.
Step 8: Clean and Display
After cutting, wipe off any scorch marks or residue with a damp cloth. You can add LED candles, paint, or extra embellishments to enhance your pumpkin further.
Creative Ideas for Laser-Cut Pumpkins

One of the biggest advantages of laser cutting is the freedom to use any design you like. From spooky to geeky, here are some fun ideas:
-
Pop Culture Icons:
-
Star Wars (Darth Vader, Yoda, Mandalorian helmet)
-
Ghostbusters logo
-
Freddy Krueger silhouette
-
Classic Halloween Themes:
-
Haunted houses
-
Witches flying across a moon
-
Spiders and webs
-
Skeletons and skulls
-
Personalised Pumpkins:
-
Family names or initials
-
Monograms with bats or pumpkins
-
Company logos for business displays
-
Geek Designs:
-
Retro game characters
-
Sci-fi logos
-
Fantasy creatures (dragons, goblins, etc.)
The key is to choose bold, high-contrast designs with thick lines that will show up well on the pumpkin surface.
Tips for Best Results
-
Avoid Tiny Details: Pumpkin flesh can’t hold ultra-fine lines like wood or acrylic can. Keep your designs bold.
-
Use Brighter Lighting Inside: Place a strong LED or flashlight inside to illuminate the designs more effectively.
-
Go Slow for Deep Cuts: Thicker parts of the pumpkin may need multiple passes.
-
Mask if Needed: Painter’s tape can help minimize charring around the cut lines.
Why Use OMTech CO₂ Laser Engravers?
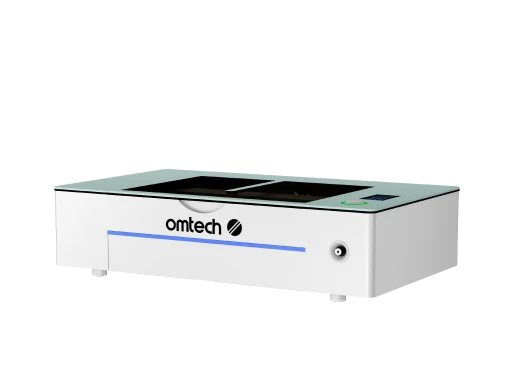
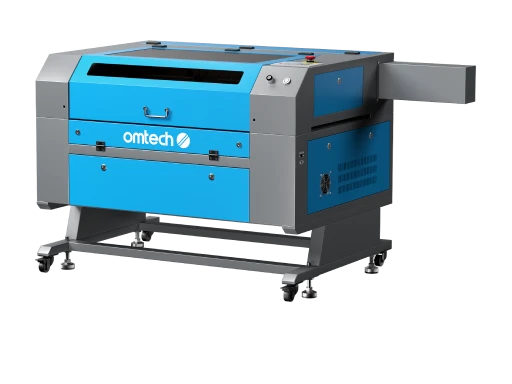
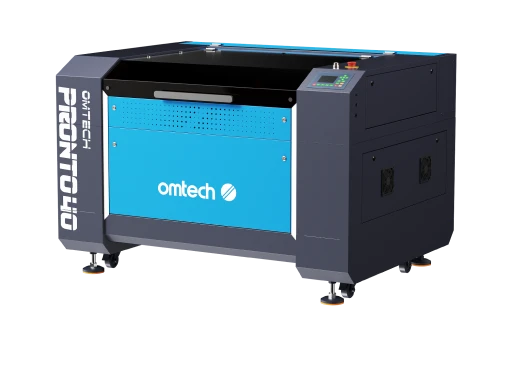
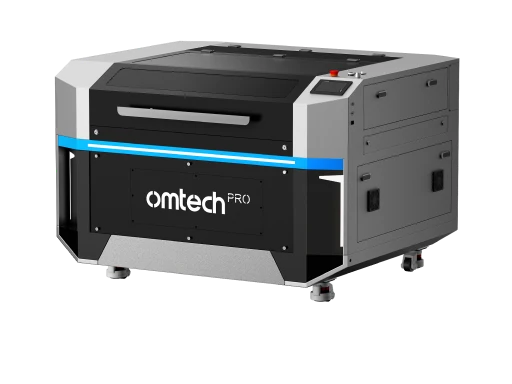
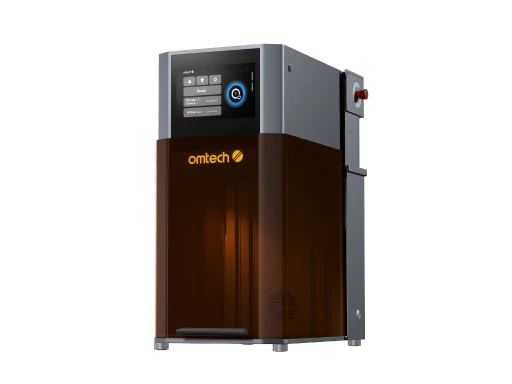
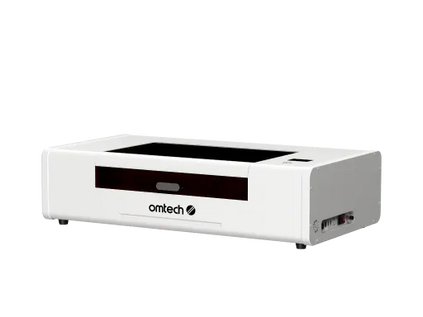
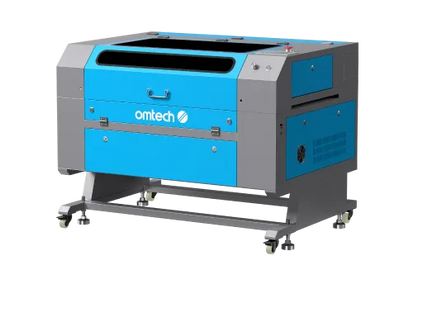
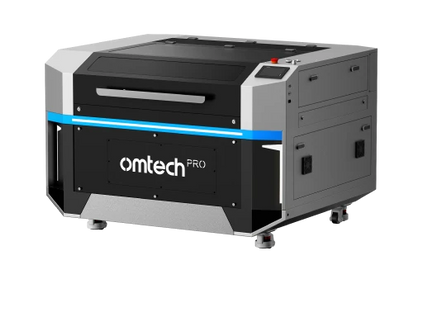
If you’re ready to start creating professional-quality Halloween decorations, an OMTech CO₂ laser engraver is your best tool. OMTech’s machines offer:
-
High-power output for cutting thick materials like pumpkins
-
Precision control for intricate seasonal designs
-
Large working beds for multiple pumpkins or large-scale projects
-
Compatibility with vector design software like LightBurn
OMTech lasers aren’t just for wood and acrylic—they’re also perfect for unique projects like seasonal décor, branding, and creative engraving on organic materials.
Final Thoughts
Laser-cut pumpkins blend traditional Halloween charm with cutting-edge technology. From family-friendly logos to hauntingly detailed portraits, your laser can turn an ordinary pumpkin into a showstopping centrepiece. With the right setup, focus, and creativity, you’ll impress neighbors, clients, or party guests alike.
Whether you're preparing decorations for your home, store, or event, OMTech CO₂ laser engravers provide the precision, power, and flexibility needed to carve your vision into reality.
Ready to start carving smarter? Explore OMTech’s lineup of CO₂ laser engravers and turn your Halloween ideas into laser-cut masterpieces.


