How to Start a Laser Engraving Program at Your School

Introducing a laser engraving program in your school can open up engaging, real‑world learning for students. It combines design, engineering, art, technology, and entrepreneurship in ways that captivate diverse learners. Whether your school is considering adding this for a makerspace, STEM class, CTE program, or art department, establishing a successful program requires thoughtful planning, curriculum integration, and ongoing support.
If you’re a teacher or administrator who wants students to have hands‑on skills, you’ll need to provide them opportunities to create physical items, solve problems, and build small businesses. In this guide, we’ll lay the foundations of a successful laser engraving program: how to assess needs, secure funding, select machines, train staff, and plan the curriculum.
Step 1: Assess Needs & Build a Team
First, survey teachers, students, and staff to identify interest levels and possible uses. What types of projects or support does the school need? Signs, props, custom gifts, labs, awards, labels? What is the existing skill level in design, graphic software, woodworking, metals, etc.?
Form a small leadership group: educators from art, STEM, tech/computer labs, administrators, and possibly parent or community partners. This team will work together to create goals, timelines, budgets, and project ideas.
Step 2: Research & Budgeting
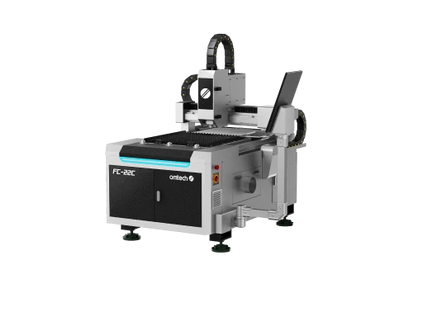
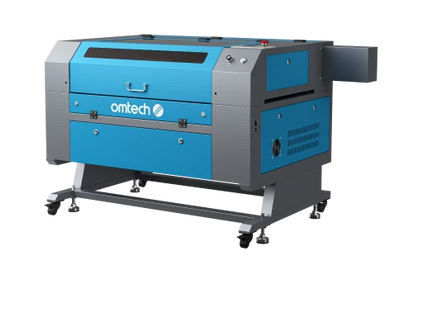
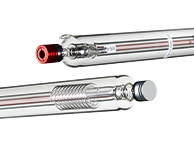
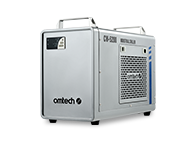
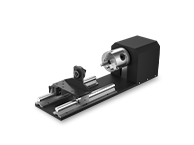
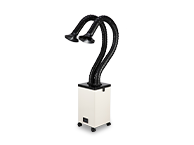
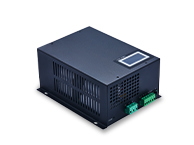
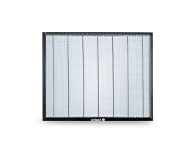
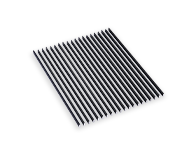
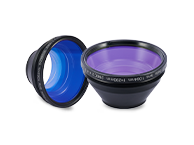
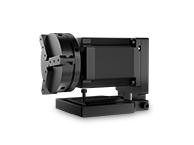
Once you understand your school’s needs, determine the costs: equipment, supplies, safety, training, maintenance. Include initial purchase of one or more laser engravers (CO₂ or fiber depending on materials you plan to work with), safety enclosures or rooms, ventilation or air filters, design software, rotary attachments, material stock (wood, acrylic, metal, etc.), and ongoing supplies.
Look for funding sources, such as school budgets, grants (STEM or maker grants), private donations, partnerships with local businesses, and PTA support. Determine whether you’ll need a phased rollout (start with one machine, expand later) or aim for full capability immediately.
Step 3: Machine Selection & Safety

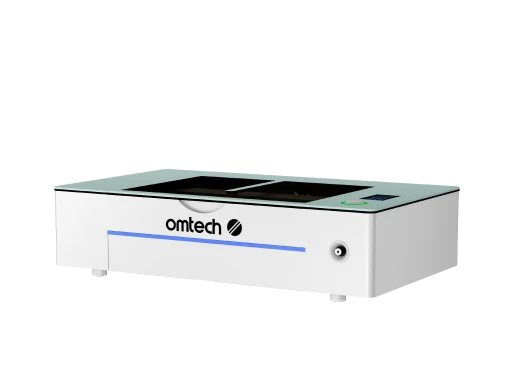
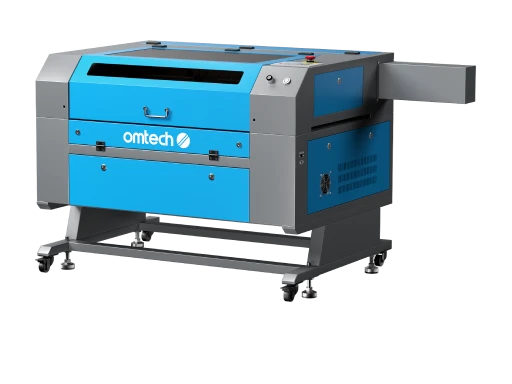
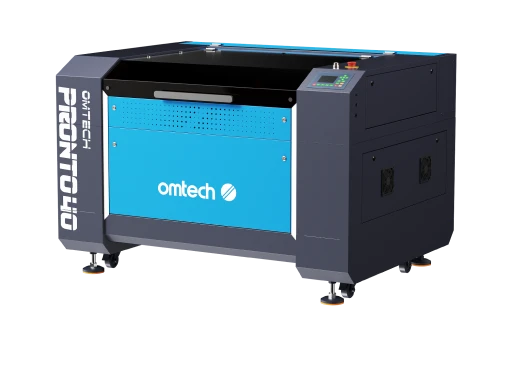
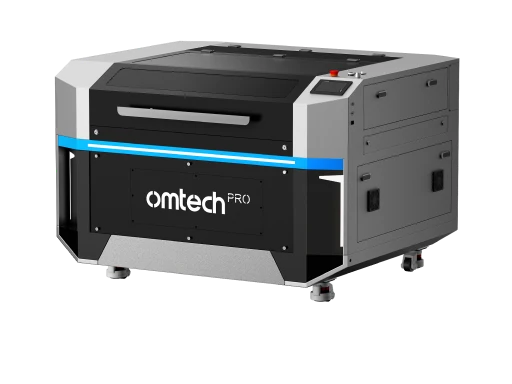
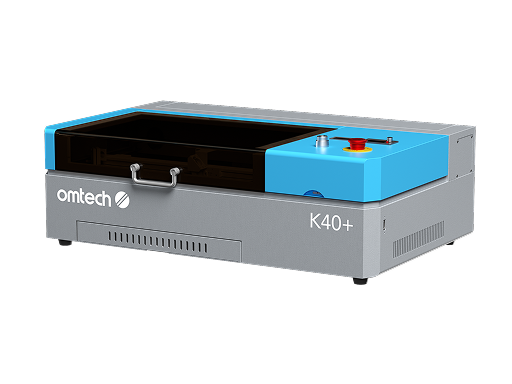
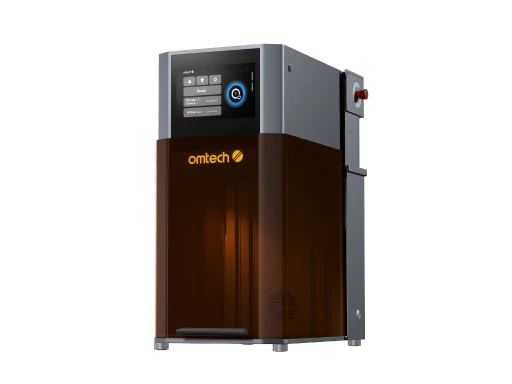
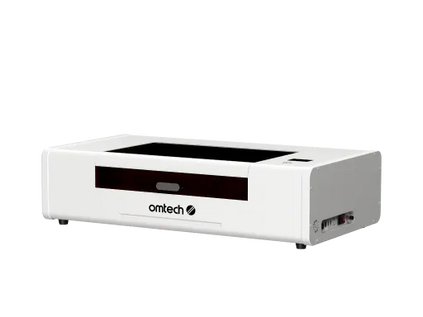
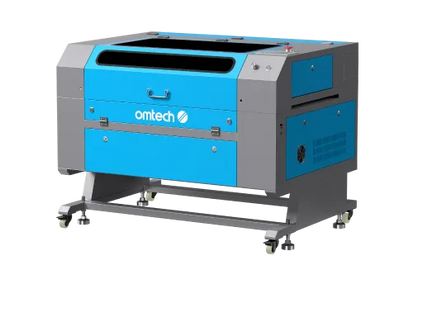
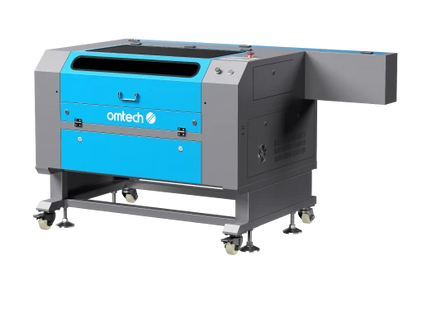
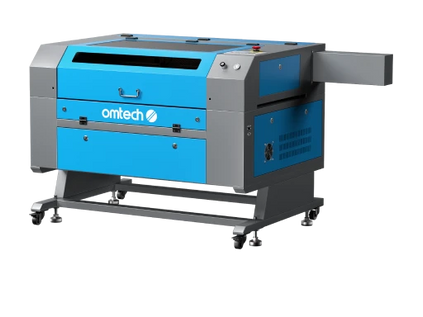
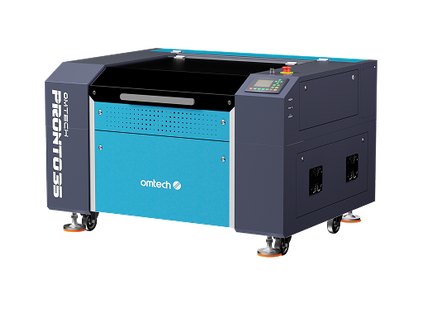
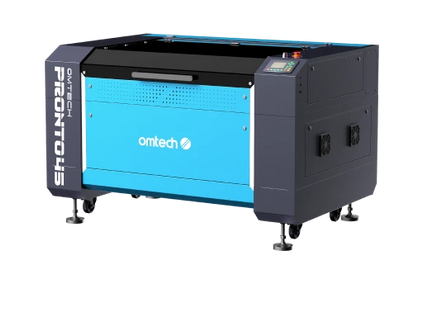
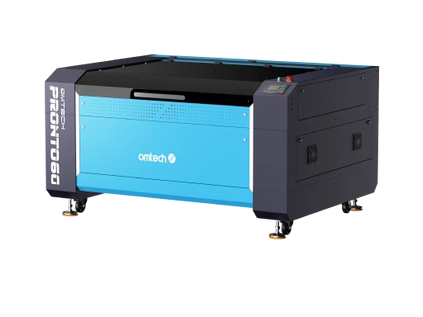
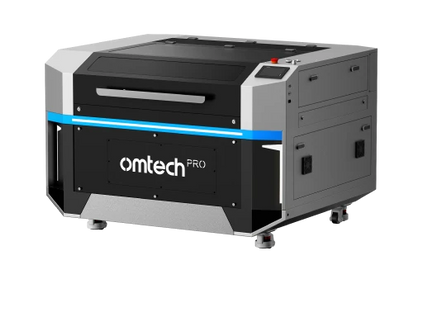
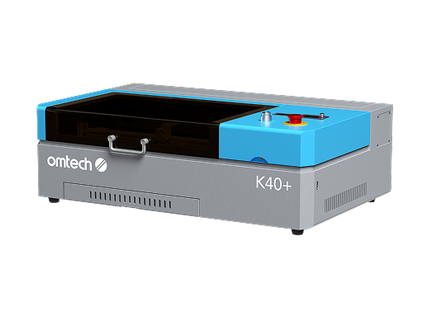
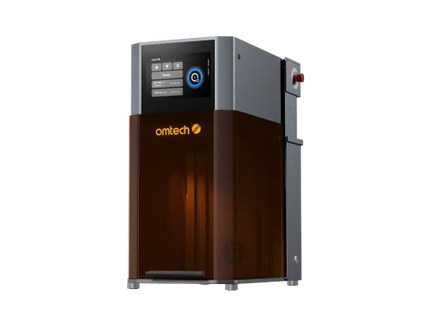
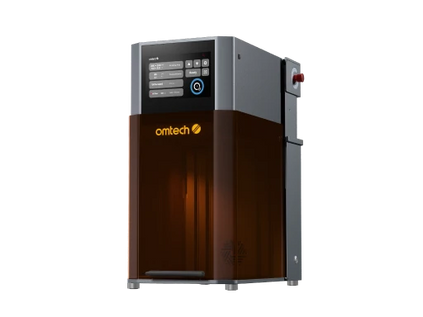
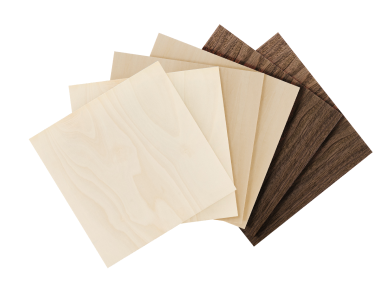
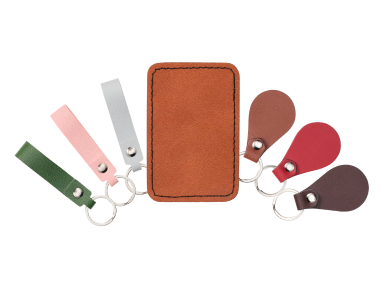
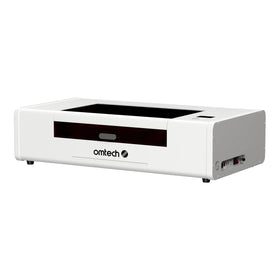
Choose machines suited to your intended projects. If you plan to work with wood, acrylic, leather, signage, etc., a CO₂ laser engraver is very effective.

Some materials supported by OMTech CO2 laser engravers
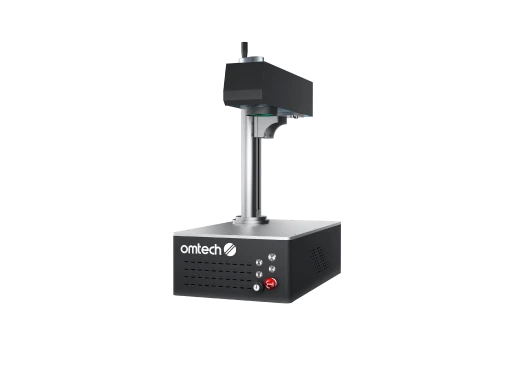
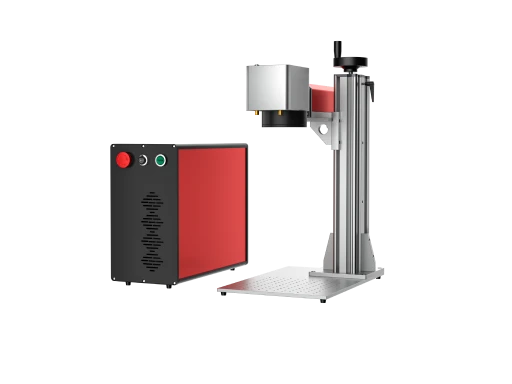
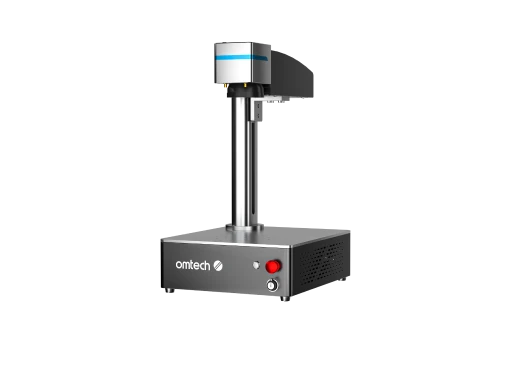
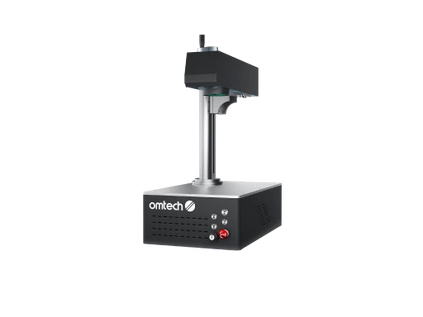
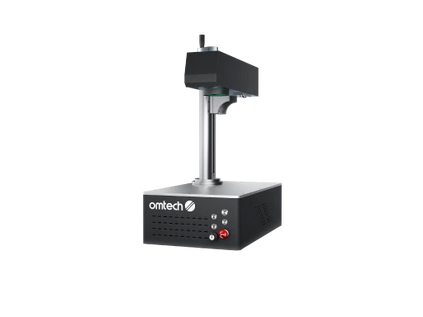
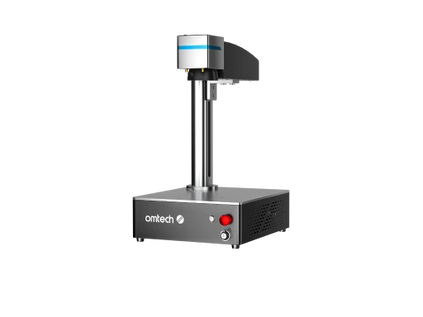
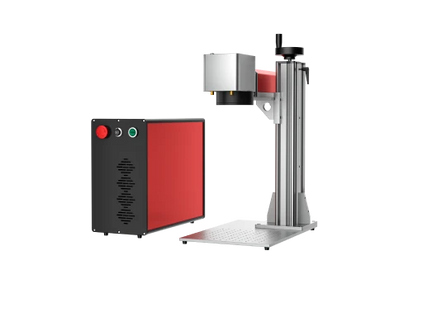
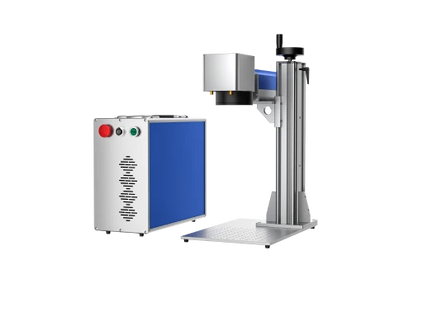
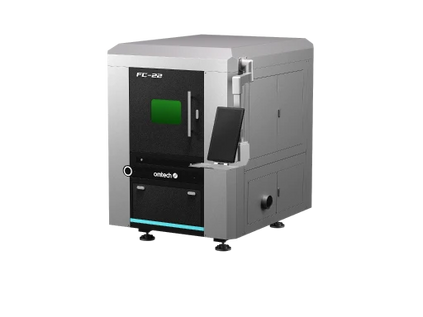
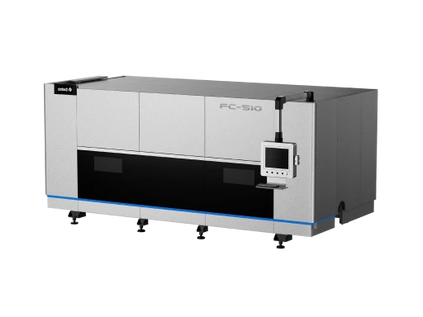
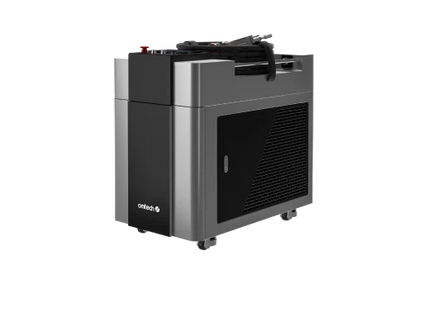
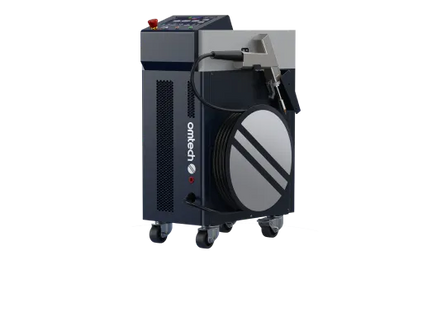
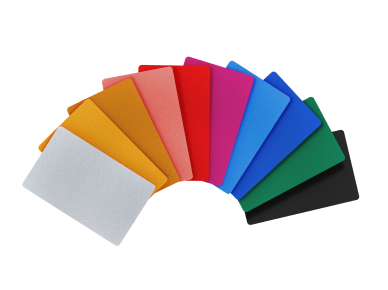
If you’ll do metal marking or engraving, fiber laser options may be required.

Engraved metal items by OMTech fiber laser engravers
Important features include:
-
Safety features: enclosures, protective windows, emergency stop, filters or exhaust
-
Ease of use: autofocus, intuitive software, training support
-
Capacity & versatility: work area size, power, attachments (rotary axis, jigs)
Set up safety protocols: training for students, supervision, protective gear, and safe ventilation. Establish usage rules and maintenance schedules.
Step 4: Curriculum Integration & Project Ideas
To ensure the laser engraving program becomes woven into your school culture, align projects with existing classes and student interests. Here are ways to integrate:
-
School infrastructure: Have students design and engrave signs for the school, such as room nameplates, hallway signs, and banners.
-
Theater and arts: Create props, stage decorations, custom backdrops, engraved plaques for awards.
-
STEM / Tech classes: Use laser machines for prototyping designs, electronics panels, robotics parts.
-
Entrepreneurship / Business classes: Teach students how to run small craft businesses—determine pricing, make product batches (keychains, ornaments, custom gifts), handle orders, marketing.
-
Design & Graphics: Let students design artwork, logos, monograms for engraving.
Make a curriculum that progresses: start with small, simple projects; move to more complex ones; then allow students to work on independent or group projects where they design, prototype, and produce.
Step 5: Training Teachers & Staffing
Your educators will need training. Identify teachers or staff willing to champion the program and provide them with professional development: run workshops, invite experts, use video tutorials, and test projects. Pair with support documents and troubleshooting materials.
Ensure there is staffing for supervision and maintenance. Someone must manage machine scheduling, supplies, safety checks, and technology updates.
Step 6: Launch, Evaluate, & Iterate

Once the program is ready, roll it out. Start with pilot classes or small groups to work out workflow, safety, and logistical issues. Collect feedback from students and teachers. Monitor usage, success of student projects, cost of supplies, time needed, and student engagement.
Use that feedback to refine curriculum, adjust schedules, expand materials, and gradually build more capacity.
How OMTech Supports School Laser Engraving Programs
When you decide to include laser engraving as part of your school program, OMTech offers tools and support designed for education through its Education Program. Key features include:
-
Discounted pricing and free consumables to reduce upfront cost burden for schools.
-
Safe, classroom‑friendly machines with enclosures, safety windows, and features like autofocus and built‑in ventilation or proper filtering.
-
Training & Educator Resources: Lesson plans, project ideas, “how‑to” setup, safety guides, and teacher support.
-
Flexible purchasing methods, including purchase orders, tax exempt options, and financing tools to ease budget constraints.
With OMTech machines, schools can safely use laser engraving across departments—art, tech, STEM, and business—and let students learn design, fabrication, creative entrepreneurship, and technical skills.
Fuel Your Education with OMTech
Starting a laser engraving program at your school is an investment—not just in tools, but in student creativity, design thinking, technical literacy, and real‑world skills. With proper planning, curriculum integration, teacher training, and strong support, your school can build a program that engages students, supports cross‑disciplinary learning, and even becomes a small revenue source or community asset.
If you’re looking to begin or expand a laser engraving program, OMTech’s Education Program offers the machines, resources, and school‑friendly financing to get you going. Explore OMTech today and find a machine that fits your school’s needs and budget. Empower your students, enrich learning, and build something lasting.


