How to Engrave with Laser Foil: A Complete Guide

Credit to @indias_crafts_and_creations on Instagram
This guide covers how to engrave with laser foil on wood, paper, and metal, and walks you through the tools, techniques, and tips you’ll need to achieve eye-catching results. Whether you’re creating custom signs, invitations, branded merchandise, or decorative art, laser foil makes it easy to add high-end flair without switching to a fiber laser or using actual metal.
What Is Laser Foil?

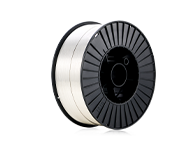
Laser foil is a heat-activated, adhesive-backed material that bonds to a surface when exposed to laser energy. It’s applied as a thin sheet and then selectively melted by the laser to leave behind crisp, shiny metallic markings in the engraved areas. The unused foil is removed afterward, leaving only the metallic design behind.
Laser foil is available in a variety of colours, including gold, silver, rose gold, and more. It is commonly used by makers and small businesses to create elegant details without the cost or complexity of engraving real metal.
Why Use Laser Foil?
-
Compatible with diode and CO₂ lasers
-
Works on a wide range of flat materials
-
No need for a fiber laser or metal substrates
-
Adds eye-catching metallic detail
-
Great for signage, wedding invites, branding, and gifts
Unlike traditional engraving, which removes material to create contrast, laser foil adds contrast by bonding metallic accents to the surface—ideal for customers who want colour and shine in their custom pieces.
What Materials Can You Use?
Laser foil is incredibly versatile and can be used on nearly any flat surface. Here are the most popular applications:
-
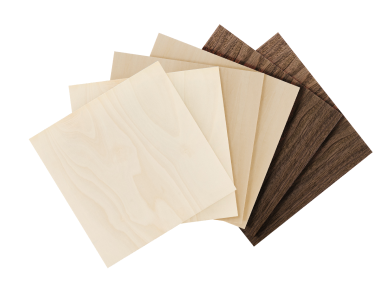
Wood – Ideal for signage, awards, and ornaments. Use smooth, sealed wood for the best foil adhesion.
-
Paper/Cardstock – Perfect for wedding invitations, certificates, and custom cards.
-
Acrylic – Adds metallic highlights to display plaques or merchandise tags.
-
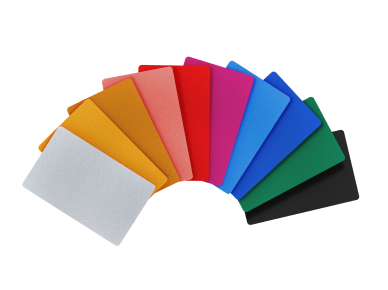
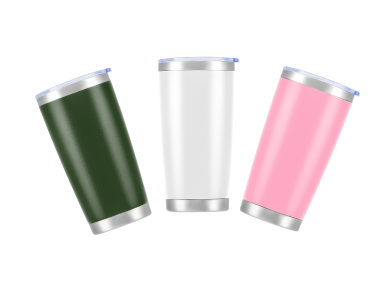
Coated Metal – Apply laser foil to anodised or painted metals for a dual-tone look.
-
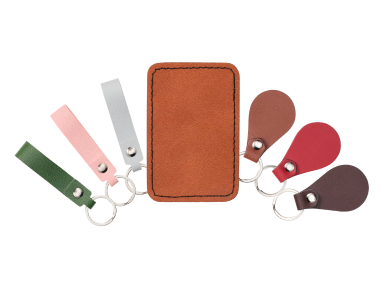
Leather – Works best on faux leather or coated leather surfaces.
-
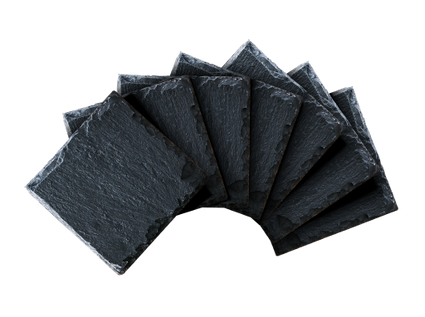
Glass and Tile – Some users have success with foil on glass, though testing is essential.
The key requirement is a flat, smooth surface, which helps the foil stick uniformly during engraving.
How to Engrave with Laser Foil: Step-by-Step

Step 1: Gather Your Materials
You’ll need:
-
Laser foil sheets (e.g., gold or silver)
-
Masking tape or transfer tape
-
Your material (wood, paper, etc.)
-
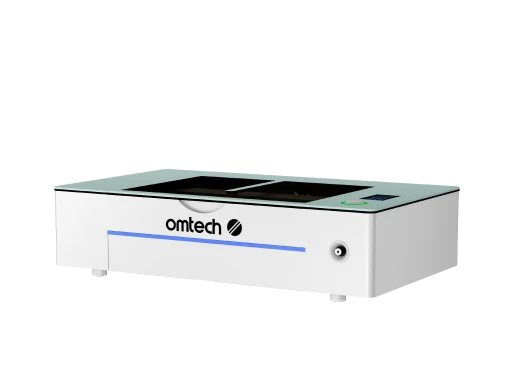
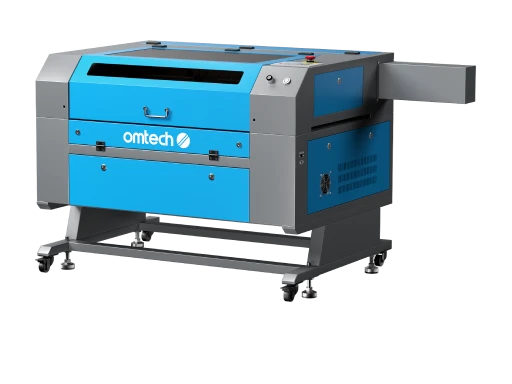
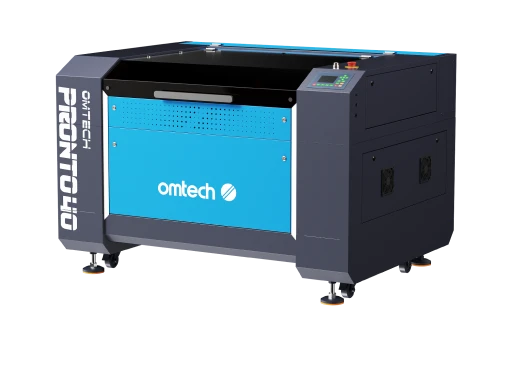
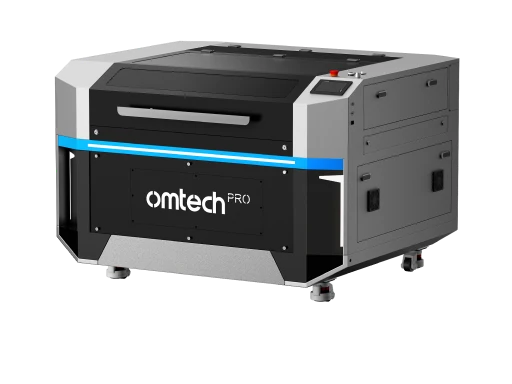
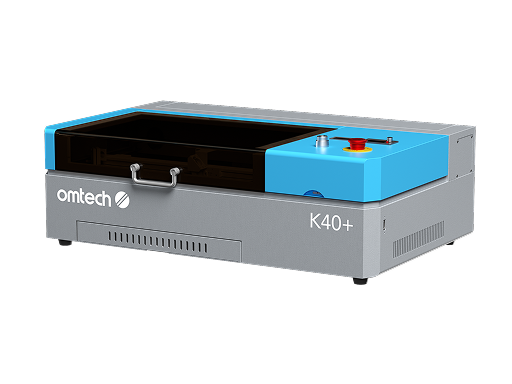
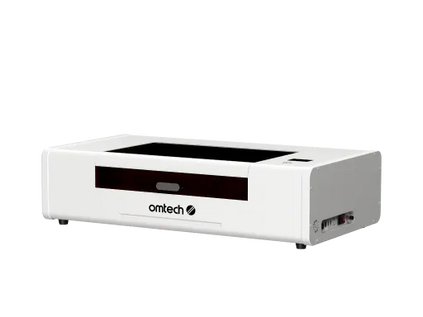
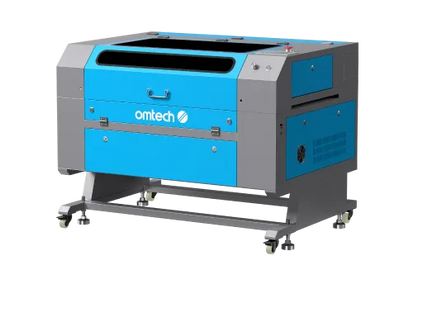
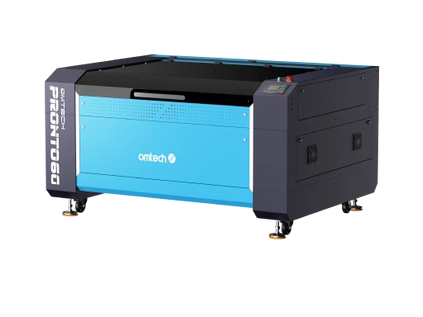
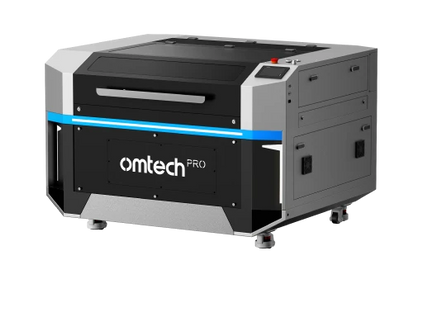
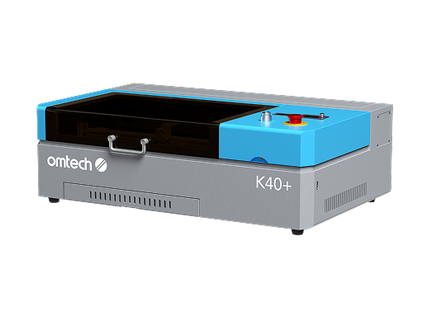
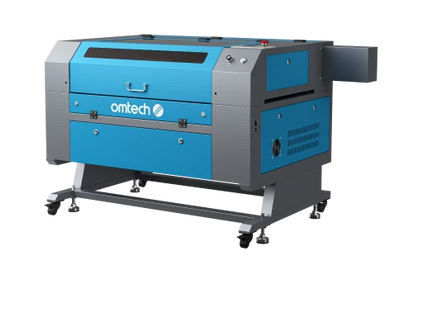
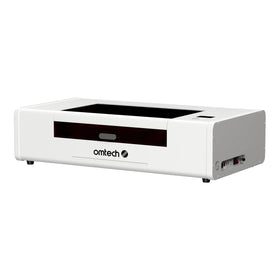
CO₂ or diode laser engraver (like an OMTech)
-
Clean brush and optional roller
Step 2: Prepare the Surface
Wipe the surface clean of dust, oils, or moisture. Smooth, sealed wood or coated paper will provide the best adhesion for the foil. Unfinished or porous materials may cause the foil to peel or stick unevenly.
Step 3: Apply the Foil
Cut a piece of laser foil slightly larger than your engraving area. Carefully place it over the material, shiny side facing up.
Use masking tape to hold the edges down, or use a low-tack transfer tape if the foil sheet is prone to movement. The foil must stay flat and tight during the engraving process to avoid wrinkles or air pockets.
Optional: Use a small roller or squeegee to press out any bubbles and ensure full contact.
Step 4: Set Your Laser Parameters
Laser foil requires just enough heat to bond the foil to the material in the engraved areas without cutting through the backing or scorching the substrate.
Start with these general settings for an 80W CO₂ laser:
-
Power: 100%
-
Speed: 40%
-
DPI: 500
-
Passes: 1
The goal is to lightly cut through the foil in just the engraved areas. Too much power may burn the underlying material, while too little won’t create a clean bond.
Engraving Foil on Wood, Paper, and Metal
How to Engrave with Laser Foil on Wood
-
Use smooth hardwood or sealed plywood.
-
Avoid porous woods like pine, which may not hold the foil cleanly.
-
Clean and sand the wood surface.
-
Apply foil tightly and engrave with moderate power.
-
After engraving, gently remove excess foil using tweezers or transfer tape.
Pros: Natural aesthetic, durable, great for signage.
Cons: Surface texture can affect adhesion; sealing may be required.

How to Engrave with Laser Foil on Paper
-
Choose thick, coated paper or cardstock.
-
Make sure the surface is smooth—uncoated paper may tear during foil removal.
-
Use light power settings and fast speeds to avoid burning.
Pros: Elegant for wedding stationery or gift cards.
Cons: Thin paper is prone to warping or tearing during application/removal.
How to Engrave with Laser Foil on Metal
-
Use painted or coated metals (anodised aluminium, powder-coated steel, etc.).
-
Avoid bare metals—foil won't adhere well without a surface coating.
-
Clean the surface thoroughly and ensure it’s completely flat.
-
Apply light to moderate power for best results.
Pros: Adds colour to existing metal designs.
Cons: Not suitable for bare stainless steel or raw metals.
Post-Engraving Cleanup
Once your engraving is complete:
-
Let the material cool for a minute.
-
Gently peel away the foil sheet. Use transfer tape to lift any remaining loose foil.
-
For detailed areas, use a soft brush to clean off residue.
Avoid using alcohol or water immediately, especially on paper or wood.
Tips for Success
-
Always test on a scrap piece of your material.
-
Use vector designs for crisp outlines.
-
Bold fonts and thick lines work better than fine details.
-
Ensure your laser is in focus to avoid fuzzy edges.
-
Keep your foil tight and wrinkle-free.
Why Laser Foil Is Ideal for CO₂ and Diode Lasers
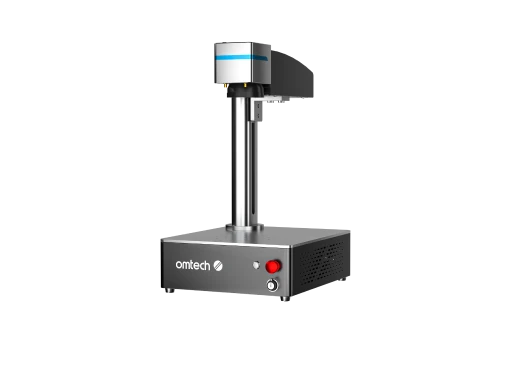
Most metallic engraving is done with fiber lasers, which are powerful but expensive and limited to metal. Laser foil opens up a new world for CO₂ and diode laser users, letting them achieve metallic designs without needing a metal-capable machine.
If you’re a crafter, business owner, or creative professional with a CO₂ or diode system, laser foil gives you a premium finish on materials that traditional engraving can’t.
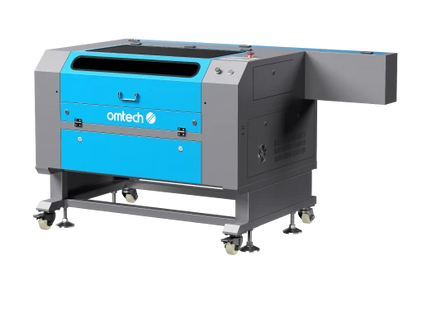
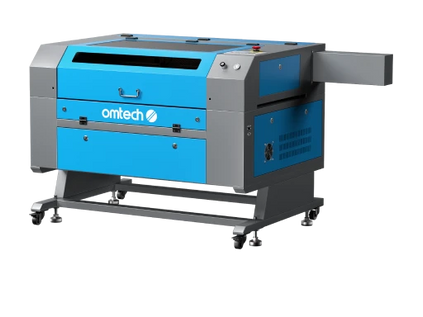
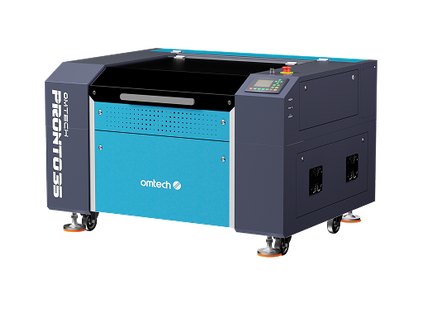
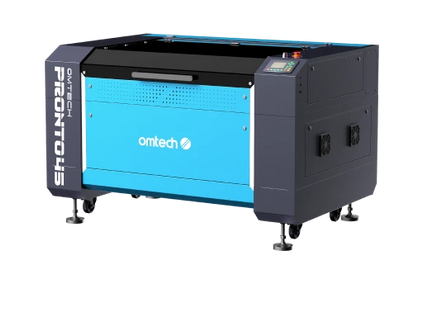
Unlock New Potential with OMTech Laser Engravers
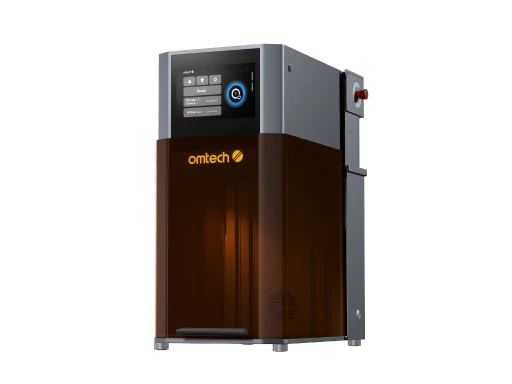
Whether you're adding shimmer to wooden signs, personalising paper invitations, or giving coated metal a metallic glow, OMTech laser engravers provide the precision and versatility to make your designs shine. Ready to add brilliance to your projects? Explore OMTech laser engravers today and discover the power of foil engraving, no fiber laser required.


