How to Engrave Rings: A Complete Guide

Engraved rings are incredibly special pieces of jewelry. From wedding bands to promise rings to anything in between, a commemorative ring holds meaning for the wearer. Traditional hand-engraved jewelry is unique and charming, offering a special touch unmatched by industrial engravings. However, if you’re looking for a way to process jewelry quickly and efficiently, fiber laser engravers are the way to go. From ornate patterns to microscopic text, laser engraving allows for efficient and flawless customization.
In this guide, we’ll walk you through everything you need to know about laser engraving rings, from setup and design to execution and troubleshooting. Whether you're a hobbyist, a jewelry maker, or a business owner, this tutorial will help you engrave rings like a pro.
Why Use a Laser for Ring Engraving?
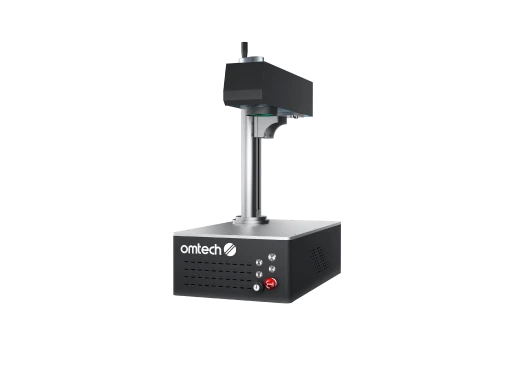
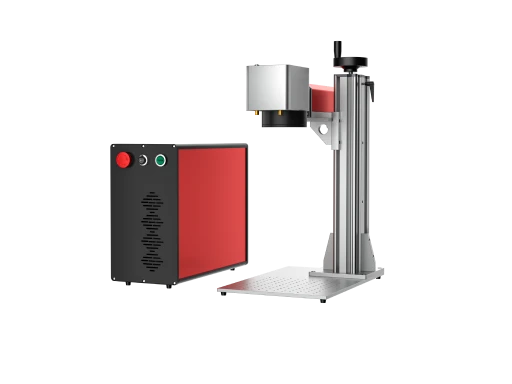
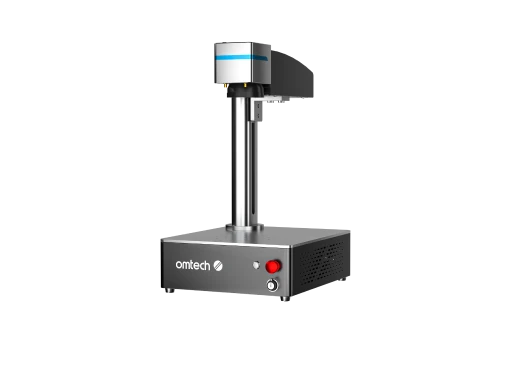
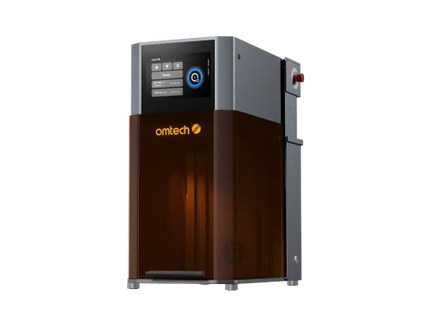
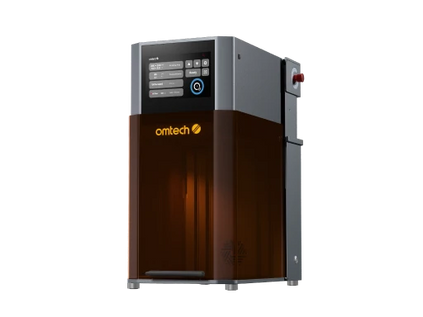
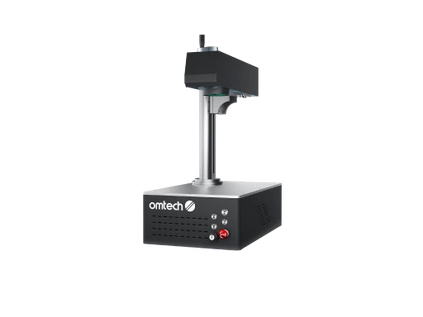
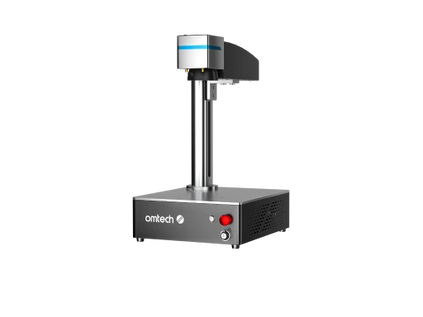
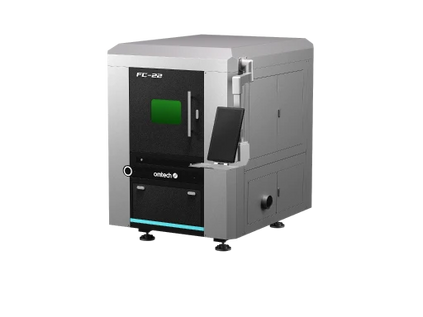
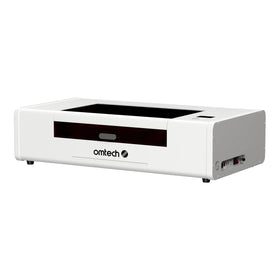
 OMTech autofocus fiber laser marker
Traditional methods like stamping or rotary engraving can struggle with small ring surfaces and curved surfaces and often takes much longer. Laser engraving, especially with a fiber laser, solves this by offering:
-
Incredible precision – Perfect for small fonts and intricate details.
-
Clean, non-contact engraving – No pressure on the ring, reducing the chance of deformation.
-
Versatility – Works on stainless steel, titanium, gold, silver, tungsten, and more.
-
Speed and repeatability – Great for batch processing or production runs.
If you’re aiming to offer high-end results for your customers or create personalized gifts, laser engraving is the gold standard.
What You’ll Need
Before jumping into the engraving process, you’ll need to gather the necessary tools and materials:
-
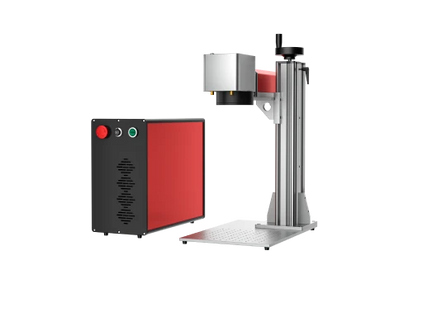
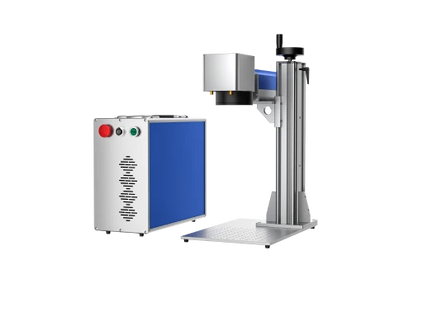
Fiber Laser Engraver – OMTech’s fiber lasers are ideal for marking metal.
-
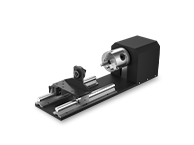
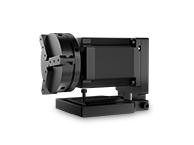
Rotary Attachment – A chuck or roller rotary is required to rotate the ring evenly under the laser.
-
LightBurn Software – For design layout and controlling the rotary tool.
-
Measuring Tools – Calipers to measure inside/outside diameters and ring height.
-
A Ring Itself – Any metal ring: stainless steel, titanium, tungsten, etc.
Step 1: Measure the Ring Accurately
Proper ring measurement is essential to ensure your design is aligned and scaled correctly. Use a set of digital calipers to measure the following:
-
Outside Diameter (OD): Distance across the outer edge of the ring.
-
Inside Diameter (ID): The internal ring width.
-
Height (Width of the band): Vertical thickness of the engraving surface.
Record these values and have them handy. They’ll be used to configure the rotary tool and scale the design accurately in LightBurn.
Step 2: Mount the Ring on the Rotary Attachment

With measurements complete, attach your rotary tool to the fiber laser’s workspace. For rings, a chuck rotary is usually preferred as it securely grips the ring from the inside or outside. If you’re engraving on the outside of the ring, make sure the rotary knobs grip the inside of the ring, and vice versa if you’re engraving the inside.
-
Insert the ring and tighten the chuck gently but firmly.
-
Ensure the ring is centered horizontally in the laser’s field of view.
-
Use shims to secure the rotary to the workspace to make sure the ring surface is level and aligned with the laser beam.
Tip: You can use the fiber laser’s red dot pointer or framing tool to help verify alignment before engraving begins.
Step 3: Center the Laser on the Ring
Getting the laser beam centered is crucial for symmetry and avoiding engraving errors. Here's how to do it:
-
Enable the rotary axis in LightBurn by navigating to Tools > Rotary Setup and enabling the rotary function.
-
Input the ring’s measurements (diameter and circumference) so LightBurn knows how far to rotate the ring during engraving.
-
Use the Frame function in LightBurn to simulate the engraving path and verify alignment.
-
Adjust Z-height if necessary so the laser’s focal point hits the exact center of the engraving area on the ring.
Getting this right will prevent your design from looking skewed or off-center.
Step 4: Prepare Your Design in LightBurn
Now it’s time to upload your artwork or text into LightBurn.
-
Import or create the design (SVG, DXF, or type text directly).
-
Set the design’s width to match the circumference of the ring (calculated from OD).
-
Set the height of the design to match the engravable area on the ring’s surface.
-
Choose your laser settings: power, speed, and number of passes depending on metal type.
Use the preview tool to ensure the design sits perfectly along the curved surface of the ring.
Pro Tip: Use LightBurn’s “Unroll” technique for cylindrical items if you want to see how the wrap-around design will appear on the flat screen.
Step 5: Test the Setup on Scrap Material
Before engraving the final ring, it’s best to test the design on a similar scrap material or blank ring.
-
Use the same power and speed settings.
-
Confirm rotation, alignment, and focus.
-
Check engraving depth and quality.
Testing helps you avoid mistakes and ensures your customer’s ring comes out flawless.
Step 6: Engrave the Ring
Once everything is aligned and tested:
-
Double-check the rotary is enabled and your measurements are entered correctly.
-
Run a final Frame to ensure everything looks perfect.
-
Hit Start in LightBurn and let the laser do its work.
Watch carefully as the laser engraves the design. Most jobs take under a minute, but complex designs may take longer.
After engraving, you can wipe the ring clean with isopropyl alcohol to remove debris or oxidation.
Step 7: Final Touches and Quality Check
Inspect the engraving for consistency, clarity, and depth. Some rings may develop oxidation marks or residue—use a polishing cloth or ultrasonic cleaner for a clean finish.
Ensure the customer’s design is centered and legible. Once it meets your standards, it’s ready to deliver or sell!
Troubleshooting Common Issues When Engraving Rings

Even with careful setup, a few common problems can arise during ring engraving. Here’s how to identify and solve them quickly:
1. Misaligned Engraving
If your design appears off-center or angled:
-
Recheck rotary alignment. Ensure the ring is level and centered within the chuck.
-
Use the framing feature in LightBurn to preview the laser’s path.
-
Confirm your measurements. A small error in diameter entry can throw off the engraving.
2. Blurred or Faint Engraving
This is often due to focus or power settings:
-
Adjust Z-height to ensure the laser is focused directly on the ring surface.
-
Increase laser power or decrease speed for better depth and clarity.
-
Clean the lens of the fiber laser to avoid power loss.
3. Rotary Not Rotating or Skipping
The rotary tool needs precise configuration:
-
Make sure the correct steps per rotation are entered in LightBurn’s rotary setup.
-
Check all cables and power connections to the rotary motor.
-
Try engraving a test line to confirm even rotation.
4. Design is Too Large or Small
If your design wraps too far or too short around the ring:
-
Double-check your circumference calculation (π × outside diameter).
-
Resize the design in LightBurn accordingly.
5. Overburn or Overlap on Edges
This can happen if the design wraps too far and overlaps itself:
-
Avoid exceeding 100% of the ring's circumference when laying out text or art.
-
Use the "Preview" feature to confirm the start and end points.
6. Material Discoloration or Residue
If the engraved area is oxidized or leaves residue:
-
Wipe with alcohol after engraving to remove soot or burn marks.
-
Use a brass brush or ultrasonic cleaner for polished results.
When in Doubt: Run a Test
Always run a test engraving on scrap or blank rings before committing to a final product. This ensures the design, alignment, and settings are all dialed in.
Why Use a CO2 Laser for Acrylic and a Fiber Laser for Metal?
While CO2 lasers are excellent for cutting and engraving materials like acrylic, wood, and leather, they cannot engrave metal directly. That’s where fiber lasers shine.
Fiber lasers offer:
-
Higher energy density for metal marking
-
Cleaner engravings with no tool wear
-
Faster speeds for production work
-
Ability to engrave even polished or anodized metals
Power Your Business with OMTech Fiber Lasers

If you’re looking to start or grow a ring engraving business, OMTech’s fiber laser engravers are your best bet. Our machines offer precision, speed, and durability—ideal for custom jewelry, metal tools, nameplates, and more.
With optional rotary attachments and intuitive software like LightBurn, OMTech fiber lasers make it easy to add high-end personalization to your product offerings.
Ready to engrave with power and precision? Explore OMTech fiber lasers today and start crafting with confidence.


