How to DIY a Jewelry Box with a Laser Engraver
The perfect gift for anniversaries, weddings, and special occasions, DIY jewelry boxes are a charming and unique way to store your prized possessions. Laser cutting and engraving jewelry boxes make the process even easier, allowing you to create clean edges, detailed designs, and custom touches without the hassle.
In this guide, we’ll walk you through how to laser cut and assemble your own jewelry box using materials like wood or acrylic. You’ll learn where to find design files, how to prep your materials, and how to get the most out of your laser engraver for this rewarding project.
1. Find or Design Your Box Files
There are two main options for sourcing designs:
-
Free online templates
-
Sites like Vecty and 3axis.co may also offer downloadable jewelry box files or related templates. You may also check the ideas of OMTech community.
-
Design your own
-
Use software like LightBurn or Illustrator to create custom parts—perfect if you want unique shapes, engravings, or modular compartments.
Pro tip: Whichever path you choose, account for kerf compensation—the width removed by the laser beam—so box parts fit snugly.
2. Choose Your Materials

By an OMTech User
-
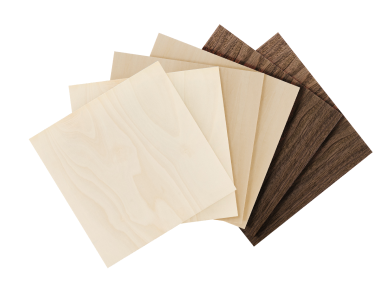
Wood (e.g. birch plywood, alder, poplar) offers a warm, classic look. Finished plywood reduces burn residue and is easier to buff.
-
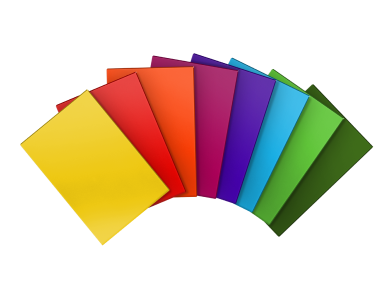
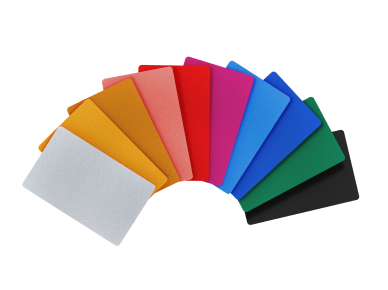
Acrylic provides a modern, sleek finish and works well with tab-and-slot designs. Just ensure you use the right glue (like WELD‑ON) to avoid hazing.
Material thickness is important—1/8" to 1/4" works best for smaller boxes. Measure carefully and test fit pieces during prototyping.
3. Set Up Your Laser Settings & Prepare the Material
-
Mask edges of wood or acrylic with painter’s tape to minimise burn marks for a cleaner finish.
-
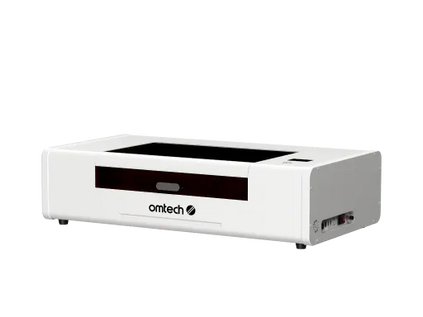
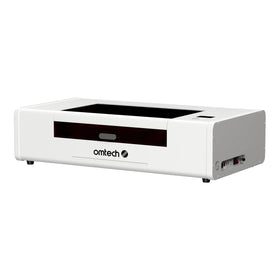
Use recommended settings based on your material and laser wattage. We used the OMTech Polar+ 55W with these settings:
-
Engraving
-
Speed: 300mm/s
-
Power: 40%
-
Cutting
-
Speed: 250mm
-
Power: 35%
-
Always test on scrap to dial in speeds and power before cutting final parts.

4. Laser Cut the Pieces
-
Load your design into your laser software (e.g., LightBurn, RetinaEngrave).
-
Cut in this sequence:
-
Engraving details (names, monograms, patterns)
-
Cut internal slots or small features
-
Cut perimeter pieces last
-
Layout parts to make efficient use of material and minimize waste.
5. Assembly: Putting the Box Together

Here’s how to build your box:
-
Dry-fit first
-
-
Before gluing, ensure all tabs and slots fit without splitting or binding.
-
-
Glue and Clamp
-
-
Apply minimal wood glue for wooden boxes, or CA/solvent adhesive for acrylic.
-
Clamp or weight pieces until the glue sets.
-
-
Attach hinges and lid
-
-
If your design includes hinges (e.g., drawers or flip tops), attach these last. Drill small pilot holes for precision and alignment.
-
-
Finish and polish
-
-
Sand burn edges smooth and apply finish—mineral oil, stain, or varnish for wood; for acrylic, clean with appropriate solvent or polish.
-
6. Custom Engraving Tips
-
Use the engraving pass to personalize your box with a monogram, logo, or decorative design.
-
Test layout alignment before engraving to ensure your artwork lands exactly where you want it—accuracy is key.
7. Final Touches & Care
-
If using wood, a few coats of mineral or linseed oil give a rich, polished look (apply, let dry, repeat).
-
For acrylic, avoid harsh solvents. Gently clean with a microfiber cloth for a clear finish.
Why OMTech CO₂ Laser Engravers Are Perfect for This Project

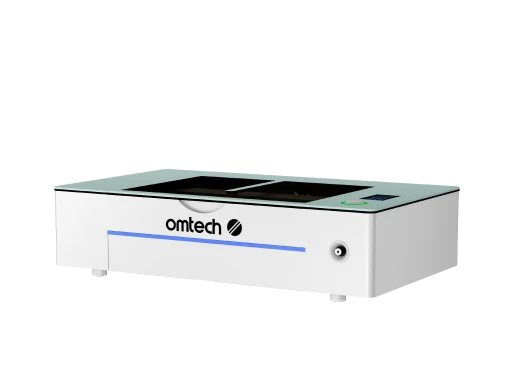
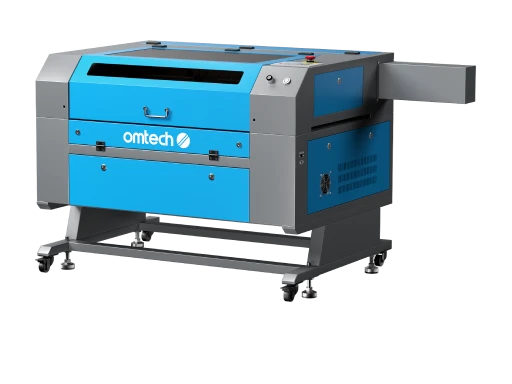
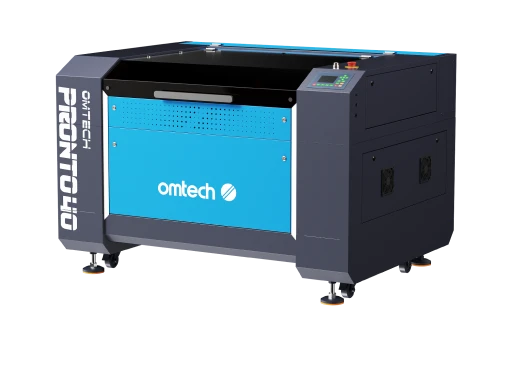
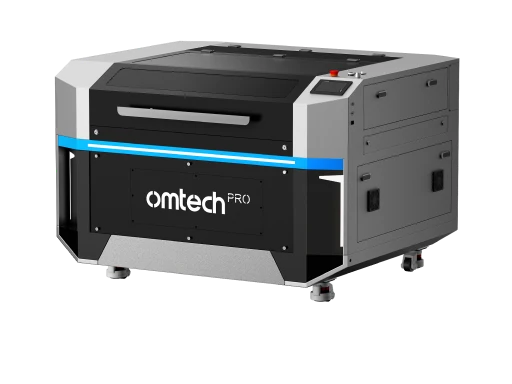
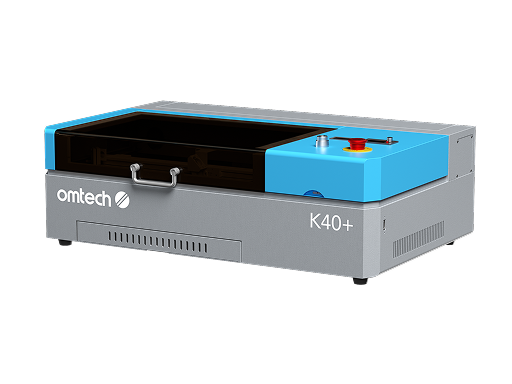
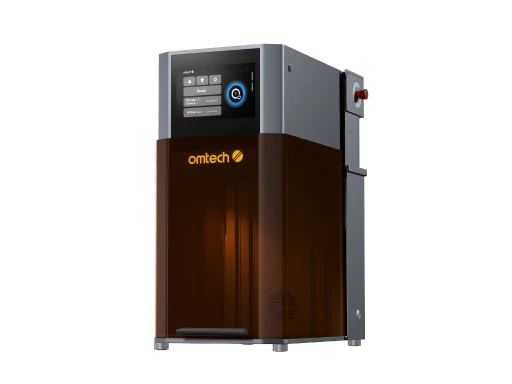
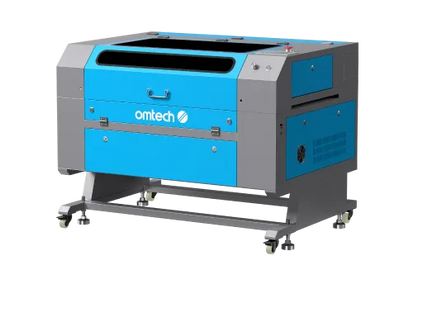
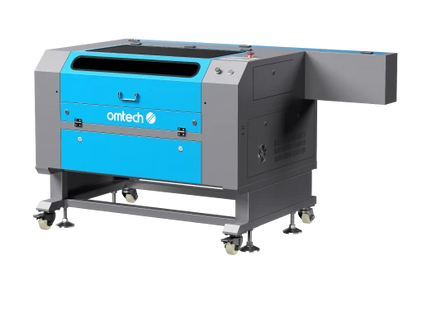
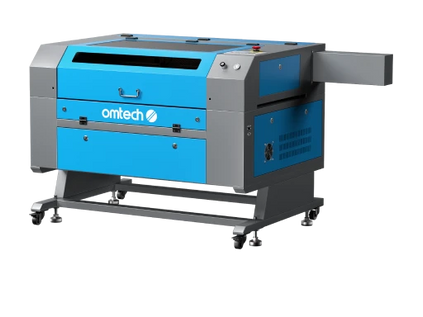
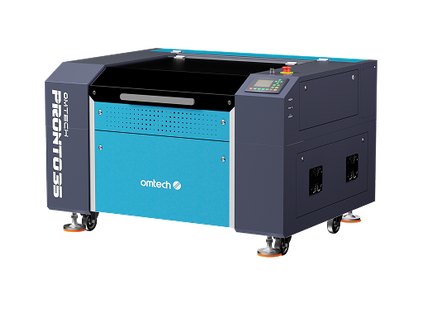
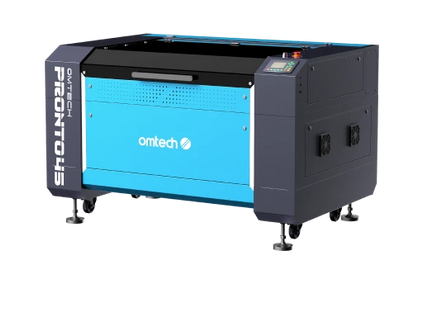
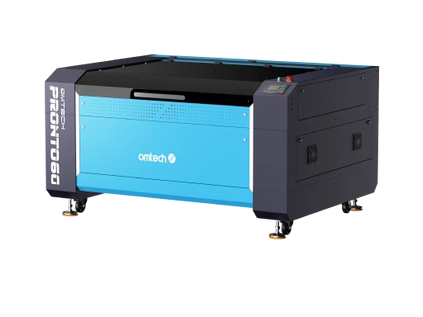
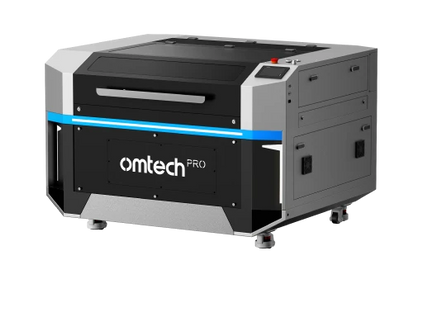
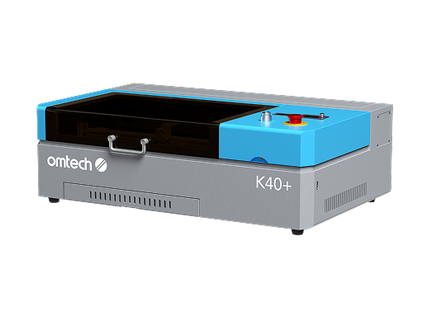
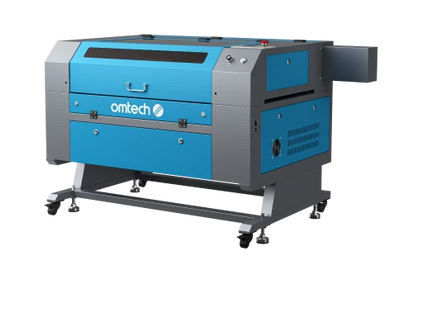
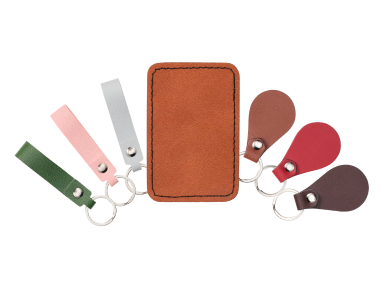
OMTech CO₂ lasers offer reliable power and precision in an accessible package—ideal for crafting detailed boxes with clean cuts and fine engravings. Designed for hobbyists and small businesses alike, they support a wide range of materials (wood, acrylic, leather) and include user-friendly software that makes customization and execution simple.
Final Thoughts
Building a custom jewelry box using a CO₂ laser opens endless creative possibilities—from heartfelt, made‑by‑heart gifts to personalized storage solutions. With freely available box generators, flexible software, and versatile materials, it’s never been easier to craft something beautiful and functional.
Ready to laser your own masterpiece? Explore OMTech CO₂ laser engravers and bring your box‑making vision to life with precision and charm.


