Laser Engraving Lesson Plans for Middle School Makerspaces

Middle school is a sweet spot for hands-on, technology-driven learning: students are curious, creative, and ready to experiment. A laser engraver in the makerspace offers a bridge between digital design and physical creation—a way for students to see their ideas come to life. But to make it work well, teachers need engaging, age-appropriate projects and smart scaffolding.
In this article, we’ll share several laser engraving project ideas tailored for middle school, advice for planning lessons, and tips for managing safety and logistics. Whether your school already has a laser tool or you’re proposing one, these ideas can help you hit the ground running.
Planning & Best Practices
Before jumping into projects, set up some guiding principles:
-
Start simple. Begin with low‑risk engraving (not cutting) to help students learn how laser power, speed, and focus work.
-
Use familiar software. Use vector or design tools students already know (e.g. Inkscape, Illustrator, even browser‑based tools) to design their engravings.
-
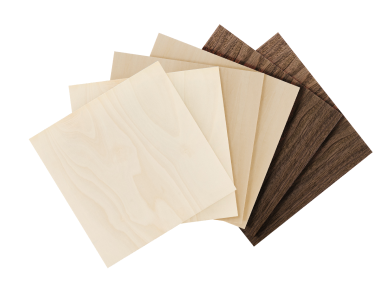
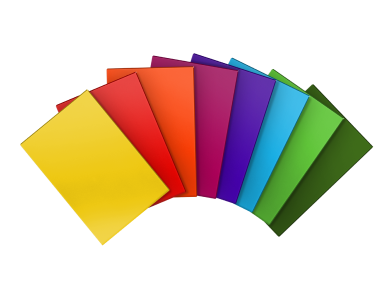
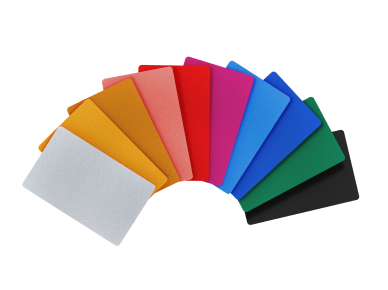
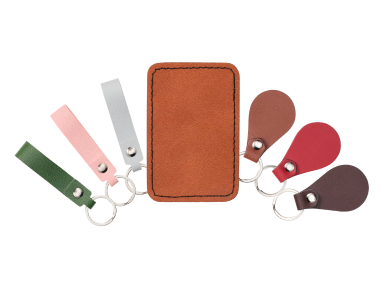
Material selection matters. Use wood, acrylic, leather, or coated plastics that laser safely engrave, and avoid hazardous materials like PVC.

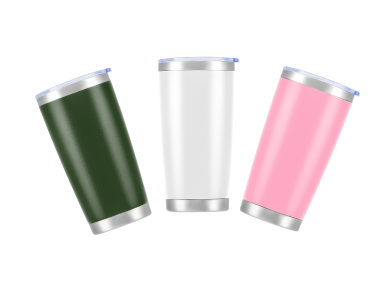
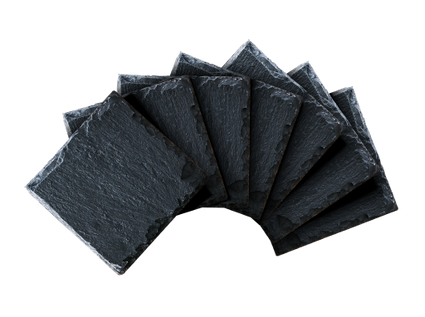
Some materials supported by OMTech CO2 laser
-
Time management. Divide a project into phases: design, test sample, final engraving.
-
Emphasize iteration. Encourage students to test small areas first, adjust settings, and refine their designs.
-
Embed curriculum. Tie engraving projects into ELA (name tags, quotations), science (cells, models), or social studies (cultural motifs).
-
Safety & supervision. Always supervise the machine, enforce eye protection or use enclosed laser units, and teach students the rules before letting them operate or load jobs.
Project Ideas for Middle School Laser Engraving

These projects balance creativity, technical learning, and manageability for that age group:
1. Personalized Name Tags & Desk Plaques
A classic starter project. Students design a plaque with their name, a symbol that represents them, or a short quote. Use wood, acrylic, or layered board. This gives them immediate ownership and helps them practice setting engrave vs cut parameters.
Skills involved: Text layout, alignment, engraving speed calibration.
2. Keychains & Bag Tags
Once students are comfortable, move them toward cutting simple shapes and engraving them. Keychains let students experiment with shape, hole placement, and decorative engraving. Use leather or thin wood.
Application: Let students gift these or sell at school fairs, integrating a mini business lesson.
3. Wooden Coasters or Tile Art
Have students design patterns, geometric shapes, school motifs, or math tessellations. Engraving into wood coasters offers more canvas area to try textures and fill patterns. Later, they can seal them or add color.
Skills involved: Geometry, symmetry, or tessellations.
4. Classroom & School Signage
Use the engraver to make signage—classroom rules, motivational quotes, door signs, or directional signs in the school. Students can propose designs that match the school aesthetic.
Application: Real-world design demands (legibility, contrast, durability).
5. Puzzle & Game Pieces
Students can create puzzles (e.g. map puzzles, shape puzzles) by laser cutting interlocking pieces and engraving the artwork or labels. This tests precision and teaches iterative design.
Application: Tie puzzles into curriculum (geography, human body, ecosystem maps).
6. Custom Bookmarks & Decorative Bookplates
This is a fairly quick project. Students can design artistic bookmarks or labels for library books, engraving names, quotes, or illustrations. It’s a manageable size and gives a usable final product.
Application: For personal use or selling.
7. Token or Badge Designs
Have students create custom tokens, badges, or reward medallions—perhaps for student recognition, club membership, or classroom rewards. These can be made from wood, acrylic, or metal-coated plastic.
Note: Reflect on design constraints (size, readability, cost of material).
8. Jewelry & Wearables
With safe materials, students can design pendants, earrings, or simple bracelets. Engraving patterns or initials can make each piece personal.
Note: Always consider edges and material safety for jewelry that might be worn.
9. STEM Models & Prototypes
Use laser engraving/etching to add detail to prototype models—like circuit board outlines, anatomical diagrams, or building façade textures. For example, engrave geographic lines on wood maps or blueprint outlines on acrylic.
Applications: Engineering design, circuits, biology models.
10. Timely or Seasonal Projects
Offer limited-time projects—holiday ornaments, themed designs (e.g. Earth Day, school mascot), or event giveaways. These help students see design-to-product cycles in action and can be motivating.
Sample Lesson Flow (One Class Period)
-
Introduction & Safety (5–10 min): Review rules, material safety, control software, and machine limits.
-
Design Time (15 min): Students sketch or mock up their design in the software. Teacher helps align engravable zones.
-
Test Engrave (5 min): Each student or small group engraves a small sample (a corner or symbol) to verify settings (power, speed, contrast).
-
Iterate & Adjust (5 min): Based on the sample, students update the design, swap fonts, resize, or change engraving depth.
-
Final Engrave (10 min): Load final design and engrave. Teacher supervises.
-
Reflection & Cleanup (5 min): Students document what worked, what didn’t, and key lessons learned.
You may stretch this over two class sessions if you want to allow deeper reflection or finishing (sealing, sanding, coloring).
Differentiation & Extension Ideas
-
Tiered difficulty: Beginners stick to engraving only; advanced students attempt cut + engrave combos or 3D layered effects.
-
Collaborative design projects: Students work in groups to produce a “brand line” of items (coasters, bookmarks, signage) to display or sell.
-
Cross-subject collaboration: Team up with art, social studies, or English teachers to develop projects tied to their curriculum (historical quotes, cultural motifs, literary themes).
-
Entrepreneurial twist: Students propose a “product line,” estimate material cost, set a small sale price, and reflect on profit, design, and production trade-offs.
Classroom Management & Safety Tips
When it comes to operating heavy machinery with students, nothing is more important than safety. Here are some tips for keeping your students out of trouble:
-
Always maintain a laser safety briefing at the start of any session.
-
Use enclosed lasers or safety shields for student runs.
-
Do not leave the machine unattended while it’s actively engraving or cutting.
-
Use materials verified as safe for engraving (avoid PVC, vinyl, or unknown composites).
-
Pre-cut or size materials prior to class to reduce idle wait.
-
Rotate chores: students can be in charge of prepping, cleaning, or testing.
-
Document settings that worked (power, speed, passes) for given materials so future classes benefit from your data.
-
Encourage digital backups of student designs, so if a job fails you don’t lose the work.
Why Laser Engravers Matter in Education

Laser engravers provide a powerful convergence of design thinking, computer-aided design (CAD), engineering, art, and real-world fabrication. Students learn iteration, computational thinking, material behavior, vector vs raster logic, and the tangible satisfaction of seeing digital ideas become physical artifacts. The feedback loop of test, revise, and produce is immediate and compelling.
They also help democratize making—students who may not be strong at drawing or freehand art can still produce beautifully precise work using digital tools and laser technique. For middle school learners, that boost in confidence and visibility (e.g. seeing your name on a plaque you made) can spark deeper interest in STEM, fabrication, and design.
Create with OMTech Laser Engravers

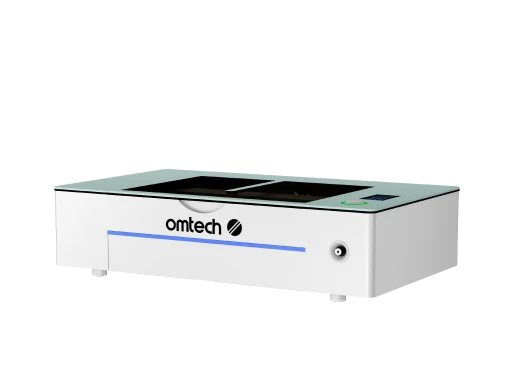
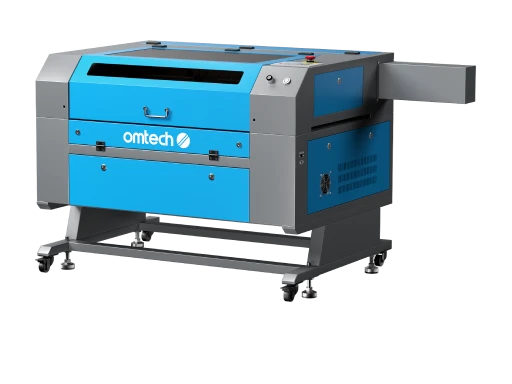
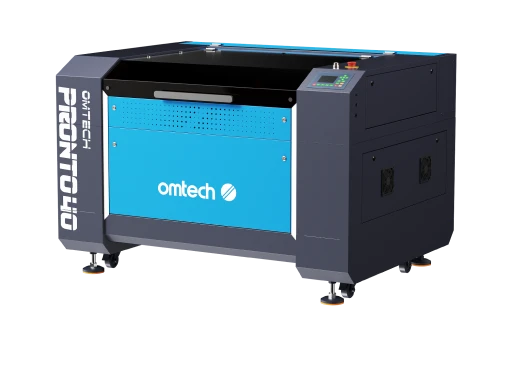
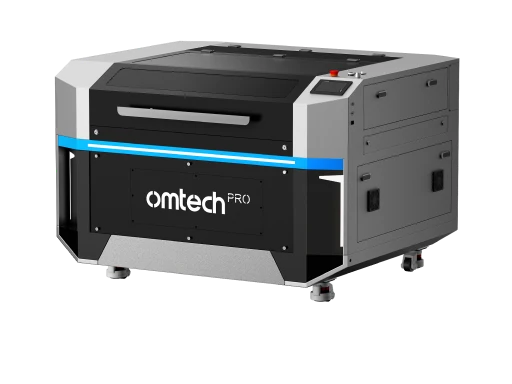
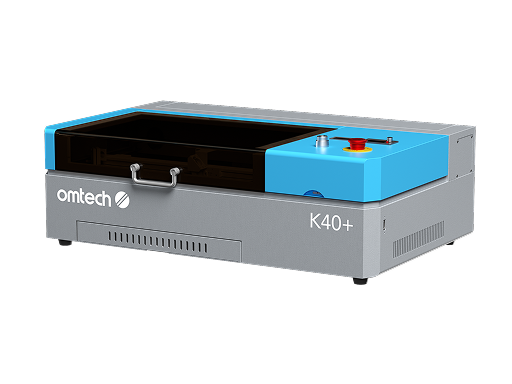
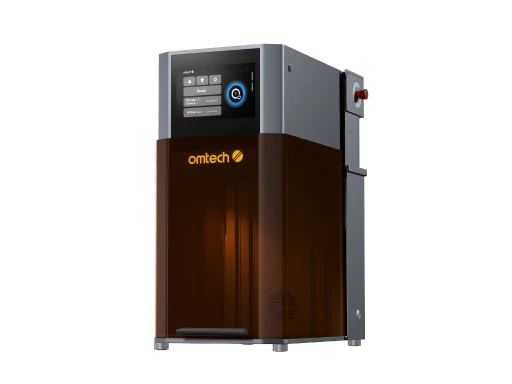
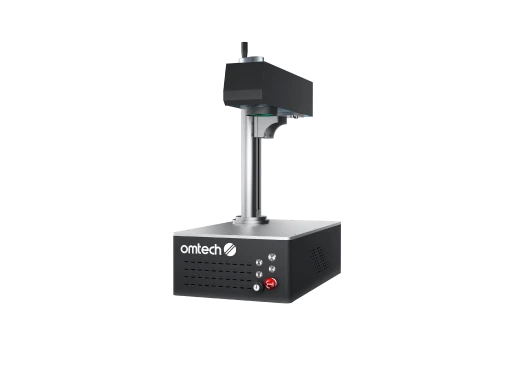
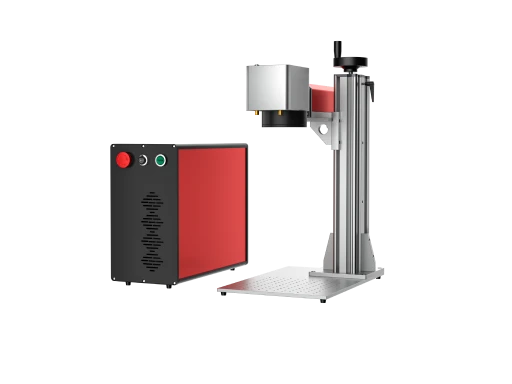
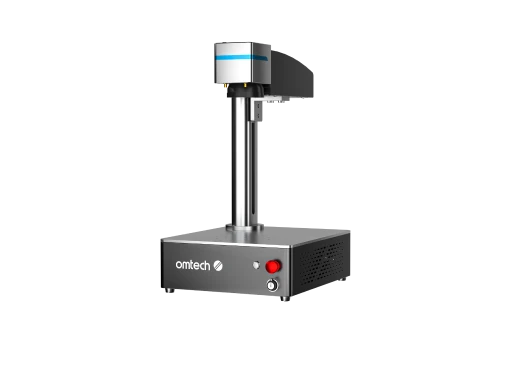
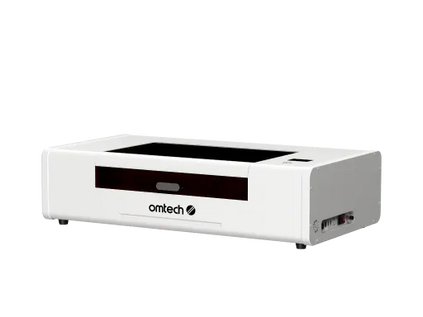
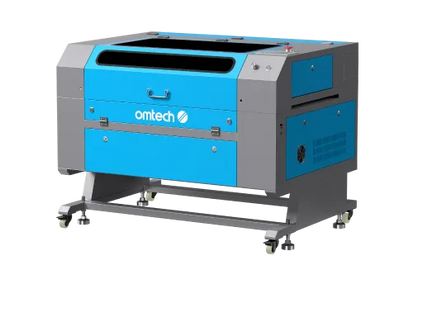
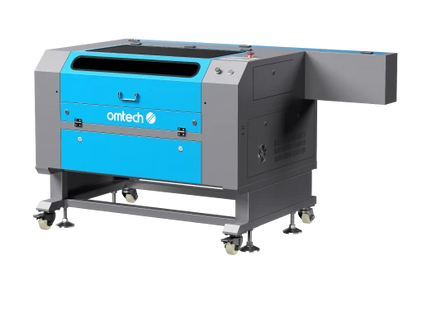
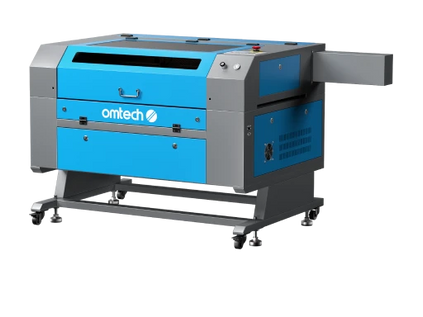
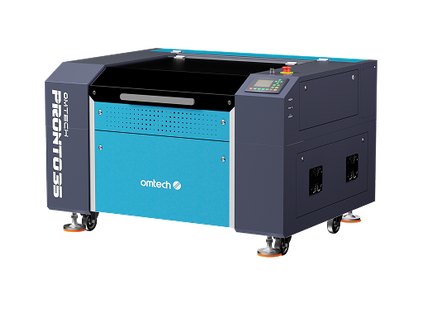
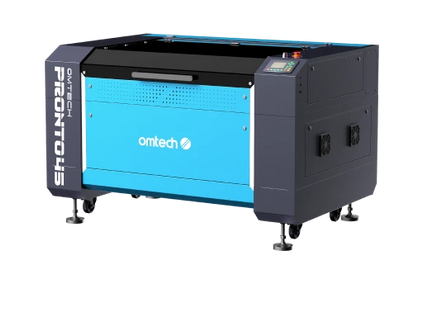
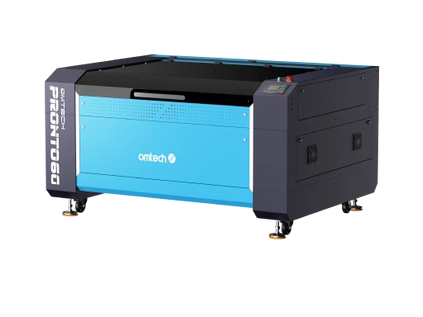
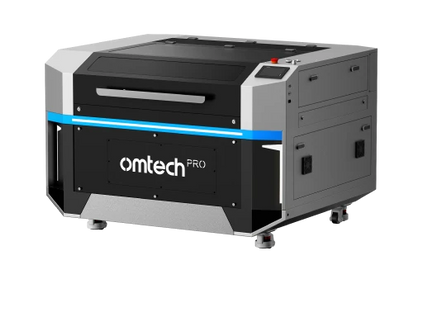
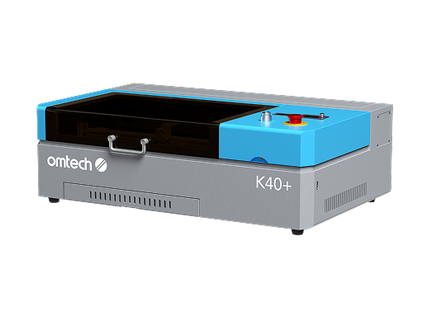
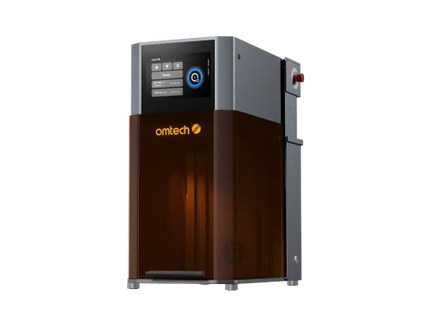
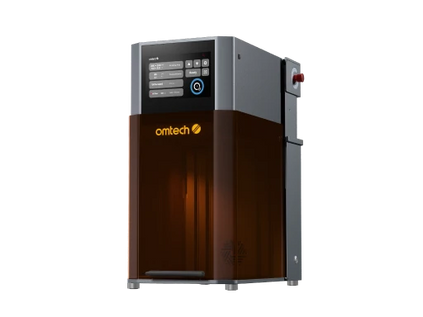
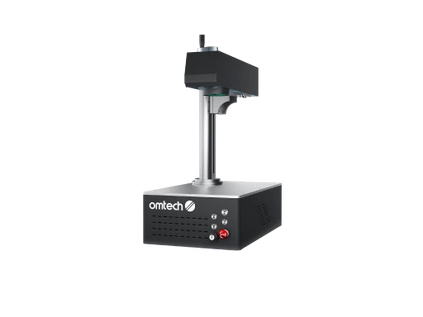
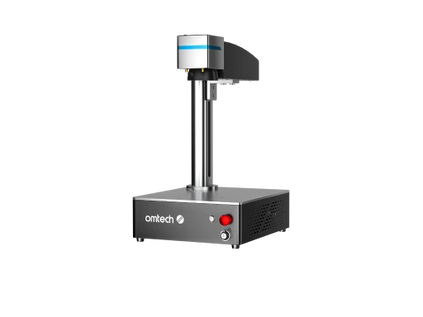
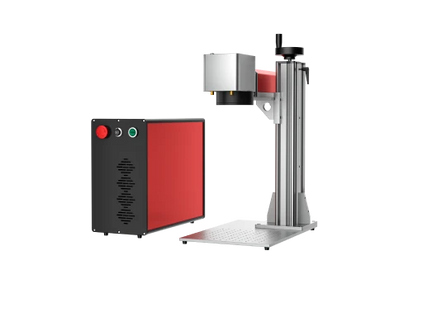
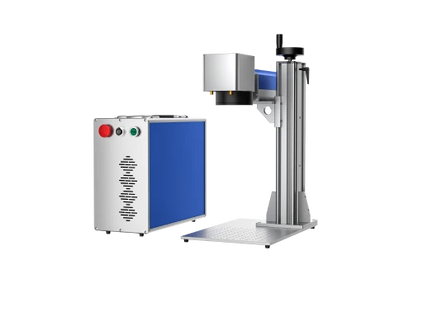
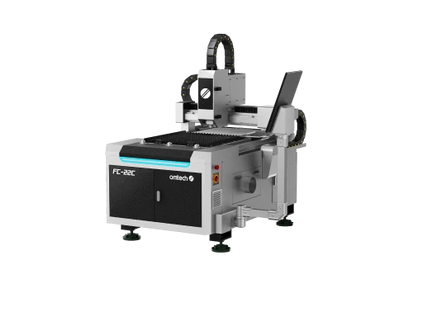
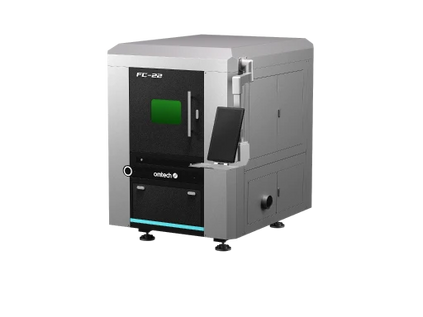
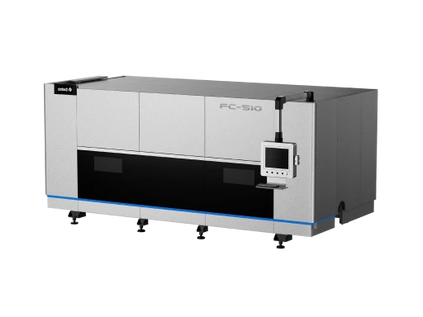
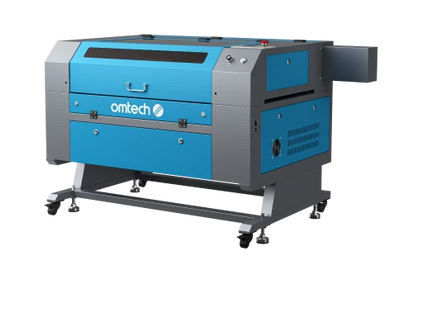
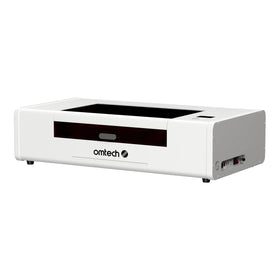
If you're ready to bring these lesson plans to life in your own classroom, OMTech laser engravers offer robust solutions tailored for educational environments. From compact, classroom-safe models to powerful units that scale with student creativity, OMTech supports educators with durable machines and resources for maker spaces. Check out OMTech Education Program to know more about the support that OMTech offers for school.
Explore OMTech’s website and see how your middle school can design, engrave, and inspire with confidence.


