All About Laser Engraving Leaves: A Guide to Leaf Laser Engraving
Leaves may not seem like the ideal textile for laser engraving, but rest assured that you can create unique patterns on delicate greenery with optimal results. Whether you want to add a natural flair to your table settings or custom touches to wall signs, laser engraving leaves is a versatile and eco-friendly way to incorporate nature into your projects.
This guide will cover everything you need to know about laser engraving leaves, from selecting the right materials to choosing laser settings and finishing with professional-quality results. Let’s dive into your next nature-inspired craft!
Selecting the Right Leaves for Laser Engraving
The key to successful leaf engraving starts with using the right kind of leaf. Make sure to choose fresh leaves, as dry or brittle leaves are fragile and tend to scorch, break, or disintegrate when exposed to the laser. Moist, fresh leaves are best for laser engraving because they retain enough internal water to resist burning and hold their shape during engraving.
Beyond freshness, flat and broad leaves with smooth surfaces are an ideal template for laser engraving. These types of leaves provide a consistent canvas and are easier to secure to the laser bed via magnets or custom cutouts. Popular choices include magnolia, maple, and aspen leaves, offering good surface area and visual appeal. Avoid curled, highly textured, or heavily veined leaves that can interfere with laser focus and result in uneven engraving.
Before engraving, gently clean the leaf with a damp, lint-free cloth to remove dirt or residue. This ensures consistent laser contact and reduces the chance of surface imperfections.
Setting Up Your Laser for Leaf Engraving
Laser engraving leaves requires a light touch and precise control. You can use CO2 or diode lasers, due to their ability to process organic materials effectively.
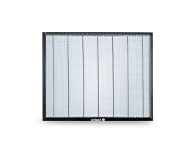
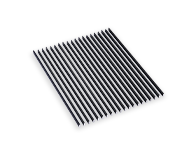
When engraving, make sure the laser bed is clean and level. It’s important that the leaf lies completely flat—any curling or height difference can throw off the focus and create hot spots or gaps in your engraving. A honeycomb or pin bed allows air to flow beneath the leaf and prevents unwanted burn marks.
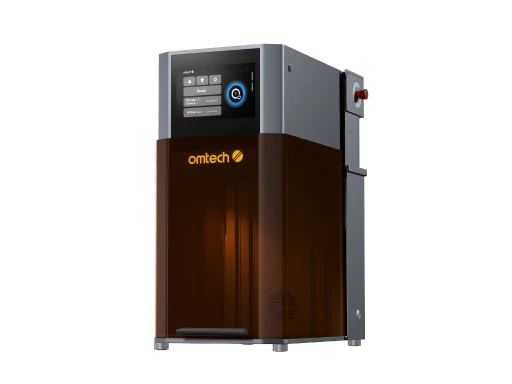
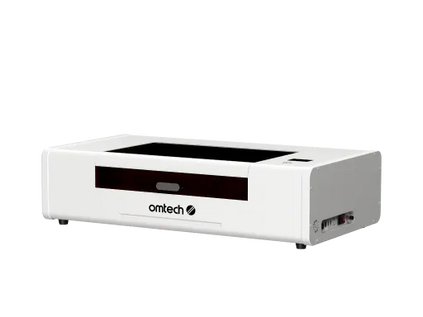
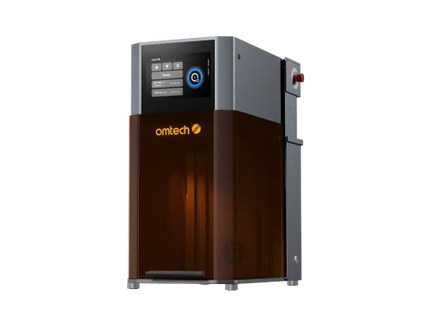
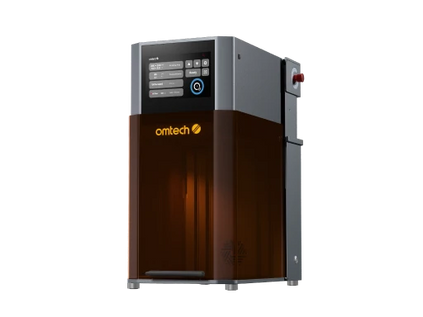
The laser should be properly focused on the surface of the leaf. Many machines like the Polar Lite include an autofocus feature, allowing you to dial in your focal point at the press of a button for optimal results.
Laser Settings: Balancing Speed and Power
Typical starting settings for a 10W diode include:
-
Speed: 5,000 m/s
-
Power: 100%
These settings will vary depending on your laser’s wattage and the type of leaf you're using. The high speed ensures the laser passes quickly over the surface, preventing heat buildup, while the high power etches away at the leaf.
Always begin with test engravings on spare leaves. Adjust power and speed incrementally until you achieve a visible, clean design with minimal edge burn. It's better to engrave too lightly and increase power gradually than to go too strong on your first try.
Creating the Right Design
Leaf laser engraving is ideal for place cards, name tags, bookmarks, or botanical illustrations. When setting up your file, use vector or raster modes depending on the detail level. Raster mode is preferable for text and shading, as it moves the laser line by line to gradually remove pigment. Vector cuts should be avoided, as they are typically too intense for delicate leaf material and may slice through it.
Keep your design comfortably inside the natural margins of the leaf. Avoid placing artwork too close to the edges, where leaf tissue is thinner and more likely to burn.
Step-by-Step Leaf Engraving Process

Here’s a complete workflow for leaf laser engraving from start to finish:
-
Harvest fresh leaves and store them in a slightly humid container if you’re not engraving immediately.
-
Clean each leaf with a damp cloth to remove debris and ensure a smooth surface.
-
Lay the leaf flat on your laser bed. Use tape, magnets, or a perforated sheet to hold it in place without damaging it.
-
Upload your design to your laser software and align it to your leaf using the preview function.
-
Set initial laser parameters to high speed and high power.
-
Run a test engraving on a spare leaf and adjust your settings based on the result.
-
Engrave your final design, making sure the leaf stays secured throughout the process.
-
Carefully remove the engraved leaf with tweezers or a flat blade to avoid tearing.
-
Optional: press or seal your leaf to preserve its structure and appearance. A clear acrylic spray or plant press can help with long-term storage.
Finishing and Preservation
Engraved leaves are typically used for short-term applications like events or gifts, but if you want to preserve them, a few additional steps can help. Pressing engraved leaves between layers of parchment paper inside a heavy book will flatten and dry them over several days. For added durability, a light coating of clear acrylic spray can prevent browning and preserve contrast in the design.
If you're framing your leaf engraving as artwork, be sure to use acid-free materials and keep it away from direct sunlight to reduce fading over time.
Why Leaf Laser Engraving Is Worth Exploring
Laser engraving leaves is more than a novelty—it's a unique and eco-friendly way to combine technology with nature. The results are often surprising: a small, soft leaf transformed into a beautiful canvas for text or art. It offers endless creative opportunities for artists, event planners, crafters, and small business owners.
This technique is also a great way to sharpen your engraving skills. Because the material is fragile and detail-sensitive, it forces you to refine your approach to power, speed, and focus—skills that are transferable to other materials.
Unlock the Potential with the OMTech Solis Duo

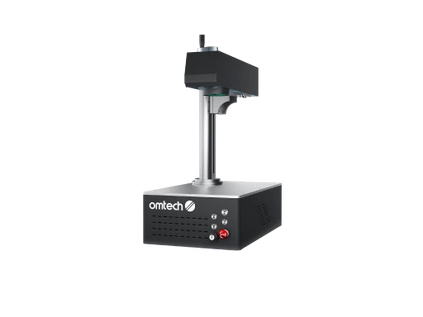
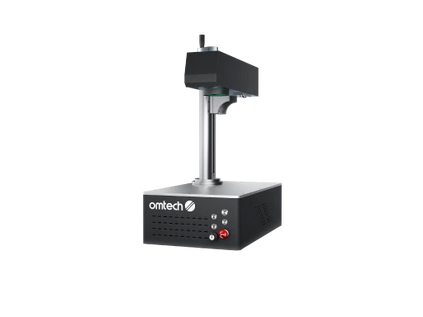
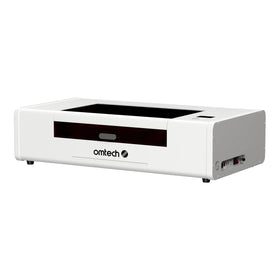
If you're serious about leaf laser engraving and other advanced applications, a dual-laser system like the OMTech Solis Duo offers incredible value. Combining diode and fiber laser technologies into one compact machine, the Solis Duo provides unmatched versatility for both organic and industrial materials.
The diode laser's shorter wavelength is ideal for low-heat, high-precision engraving on delicate materials like leaves, paper, glass, and plastics. Meanwhile, the fiber laser handles metals and synthetic materials with ease. With its advanced control system, autofocus capabilities, and high-resolution output, the Solis Duo is the perfect tool for makers who want to push creative boundaries.
Start Your Leaf Laser Engraving Journey Today
Laser engraving leaves may be delicate work, but with the right materials, techniques, and tools, the results are stunning and deeply rewarding. Whether you're adding nature-inspired touches to your event décor or exploring sustainable art, this creative process brings a fresh new dimension to laser engraving.
Ready to take your projects to the next level? Explore the OMTech Solis Duo—a dual-laser machine that lets you engrave leaves and so much more. With diode and fiber laser capabilities, precise controls, and broad material compatibility, it's the perfect choice for creators who want both flexibility and performance.
Discover the OMTech Solis Duo today and turn nature into your next masterpiece.


