Handmade Wooden Christmas Ornaments: Laser Cutting Tips and Ideas
Handmade wooden ornaments are a timeless addition to holiday decorating, blending rustic charm with personal creativity. Whether you’re crafting for your own tree, giving heartfelt gifts, or launching a seasonal Etsy store, making wooden ornaments is a rewarding DIY project. And with a laser engraver, the process becomes precise, scalable, and uniquely yours.

In this guide, we’ll cover how to make wooden Christmas ornaments from scratch, from design ideas to step-by-step laser cutting and engraving. Educators, crafters, and small business owners: this guide is for you!
Benefits of Laser-Cut Wooden Ornaments
Before we get to the how-to, let’s cover why laser engraving is the perfect method for handmade wooden Christmas ornaments:
-
Precision & Detail: Achieve fine lines and intricate patterns that would be hard to do by hand.
-
Speed: Produce ornaments quickly, ideal for bulk gifting or sales.
-
Customization: Easily add names, dates, or custom graphics for personalized gifts.
-
Creative Freedom: Create everything from traditional snowflakes to modern geometric trees.
With a CO₂ laser cutter like those from OMTech, you can engrave and cut wood with speed, accuracy, and minimal material waste.
Wooden Christmas Ornament Design Ideas

You don’t need to be a graphic designer to create beautiful ornaments. Here are several theme ideas to get your creativity flowing:
Traditional Christmas Themes
-
Snowflakes
-
Reindeer
-
Angels
-
Christmas trees
-
Nativity scenes
Personalized Ornaments
-
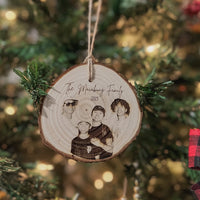
Names and birth years
-
“Baby’s First Christmas”
-
Custom messages (e.g., “Our First Christmas Together”)
-
Pet silhouettes with names
3D & Layered Ornaments
-
Multi-layered designs with different wood tones
-
Frame-style ornaments with floating text
-
Folded or slotted wood to add depth
Typography Designs
-
Calligraphy initials
-
Words like “Joy,” “Noel,” “Peace”
-
Dates and family names engraved in elegant fonts
Want more inspiration? Explore OMTech’s Ideas Gallery for downloadable files and examples made by laser users just like you.
Materials You’ll Need
To get started, gather the following materials and tools:
-
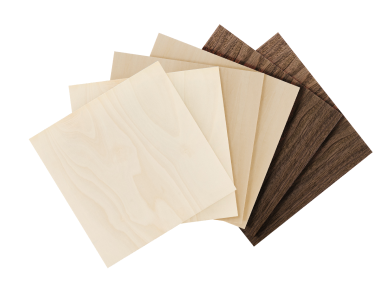
Wood sheets or blanks (basswood, birch, maple, or walnut work well)
-
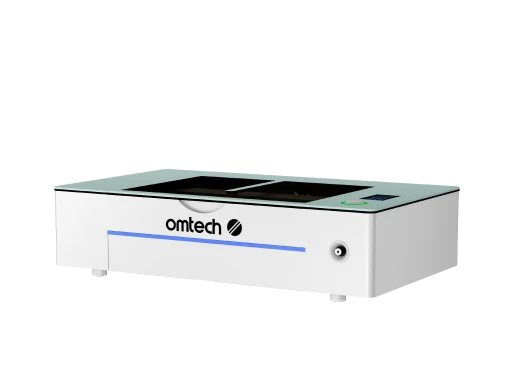
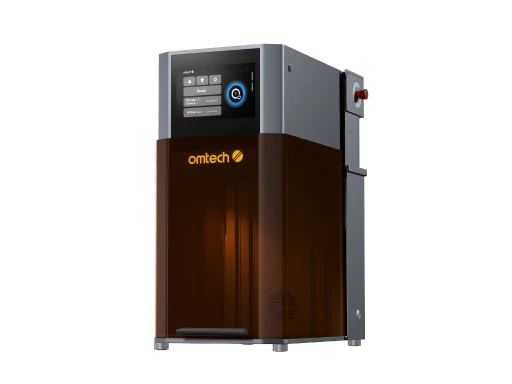
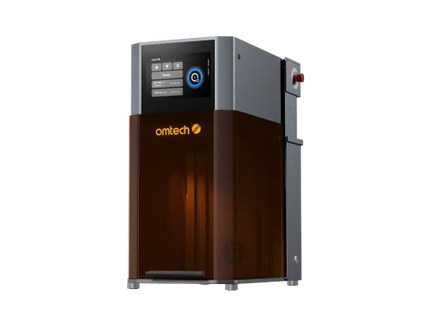
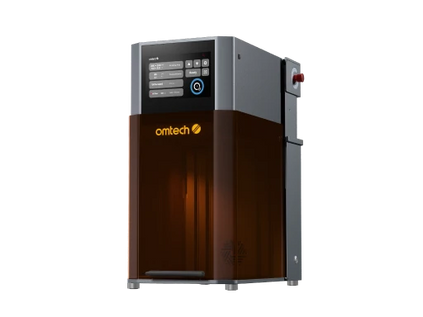
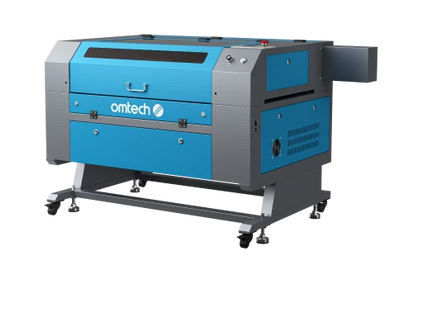
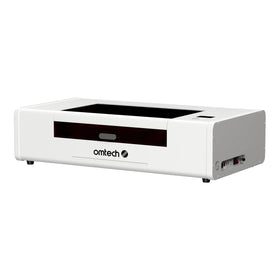
CO₂ laser engraver (such as the OMTech Polar Lite)
-
Design software (Adobe Illustrator, LightBurn, Inkscape, etc.)
-
Masking tape (to reduce burn marks during cutting)
-
Sandpaper (fine grit, for finishing edges)
-
Paint or wood stain (optional, for decorative finishing)
-
Twine, ribbon, or hooks (for hanging)
How to Make Personalized Wooden Christmas Ornaments with a Laser

Here’s a step-by-step walkthrough for making wooden ornaments with your laser engraver.
Step 1: Choose Your Design
Start with a design file in SVG, AI, DXF, or another format compatible with your laser software. You can create your own or download one from a marketplace or OMTech’s idea hub.
Step 2: Set Up the Laser File
Import the file into your laser software—LightBurn is highly recommended for OMTech users. Adjust settings to define which parts will be engraved and which will be cut. Use color-coded layers in your design file to separate engraving from cutting.
Step 3: Prepare the Wood
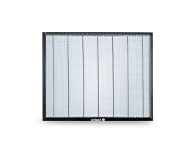
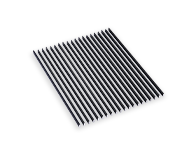
Secure your wood sheet to the laser bed using honeycomb pins or magnets. Apply masking tape over the engraving area to help reduce charring.
Select the appropriate laser power, speed, and frequency. For example:
-
Engraving: 20–50% power, 300+ mm/s speed (depending on wood type)
-
Cutting: 20-50% power, 20–40 mm/s speed (for 1/8"–1/4" thick wood)
Always perform a small test cut or engraving first to fine-tune your settings.
Step 4: Start the Job
Once everything is dialed in, send the file to the laser and begin the engraving and cutting process. The laser will etch the design first, followed by cutting the shape.
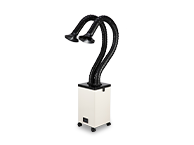
Ensure proper ventilation, as wood cutting can create smoke and odors.
Step 5: Finishing Touches
After the job is complete:
-
Peel off the masking tape
-
Lightly sand the edges to remove residue or burn marks
-
Optionally, paint or stain the ornament for added flair
-
Add a ribbon, twine, or hook for hanging
Tips for a Professional Finish
-
Use high-contrast settings to make engravings stand out
-
Try staining or color-washing before engraving for a two-tone effect
-
Batch your ornaments on one sheet to save time and material
-
Keep a vacuum or blower handy to remove debris as you go
What Wood Should You Use?
Here are a few common choices for wooden ornaments:
|
Wood Type |
Benefits |
Drawbacks |
|
Basswood |
Soft, engraves cleanly |
Can be prone to warping |
|
Birch Plywood |
Affordable, durable |
May show glue lines on edge |
|
Maple |
Crisp detail |
Slightly harder to cut |
|
Walnut |
Rich color |
Higher cost |
Use 1/8" (3mm) sheets for best results—thicker sheets are harder to cut cleanly with low-wattage machines.
OMTech Laser Engravers for Custom Wooden Ornament Making

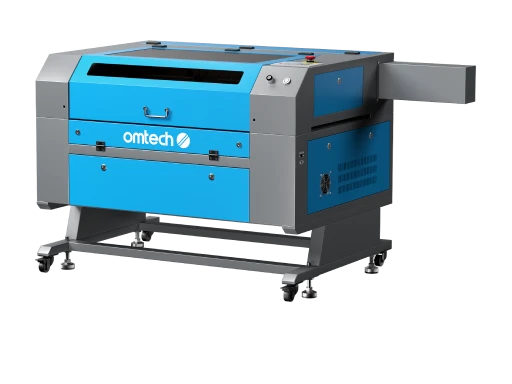
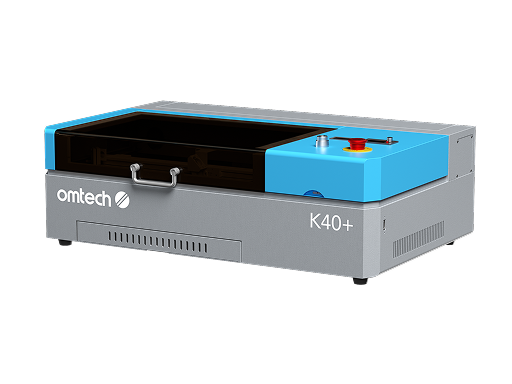
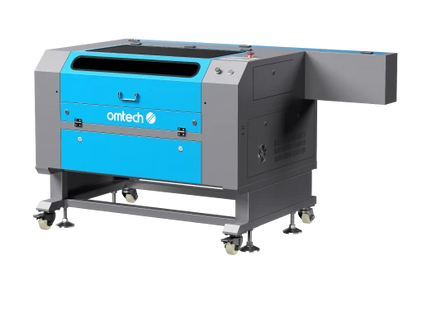
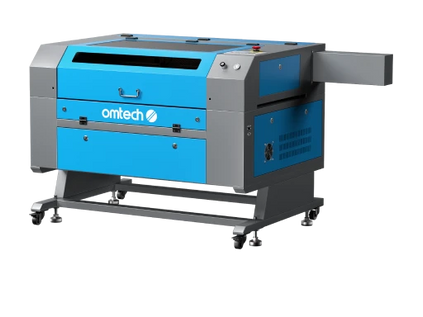
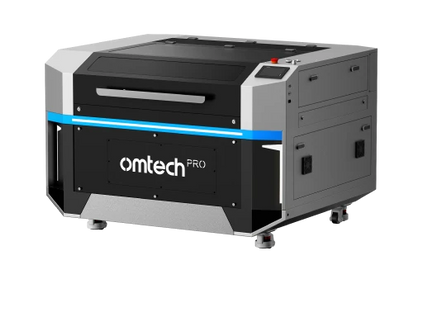
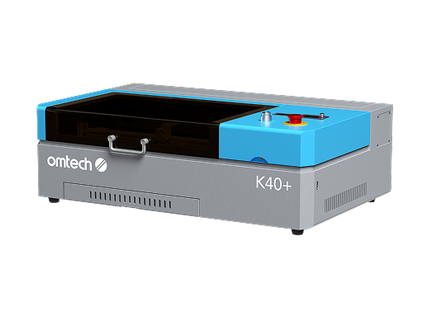
OMTech CO₂ laser machines are ideal for crafting wooden ornaments at home, in a classroom, or for a small business. Whether you're a hobbyist or preparing for holiday craft fairs, OMTech has a solution:
-
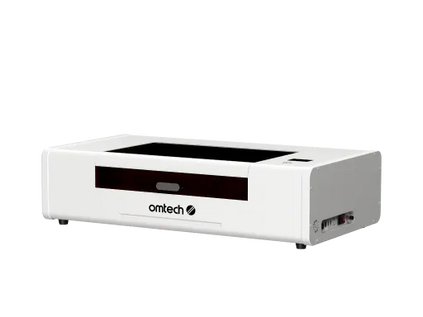
OMTech Polar: Compact, budget-friendly, and perfect for beginners with a 55W CO₂ tube. Ideal for thin wood, acrylic, leather, and more.
-
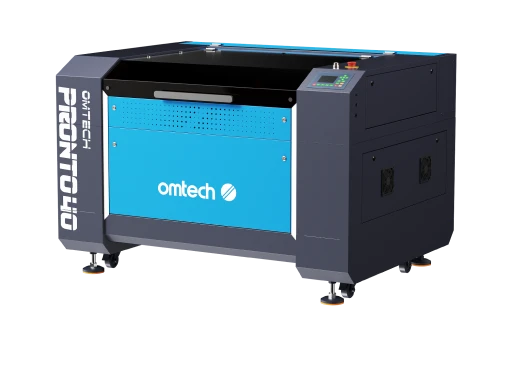
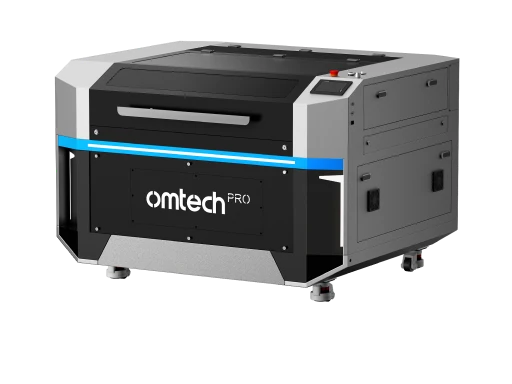
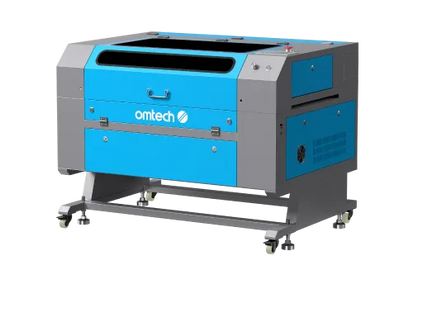
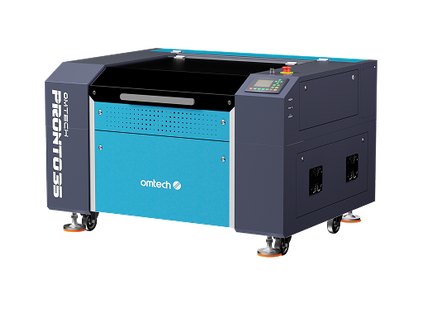
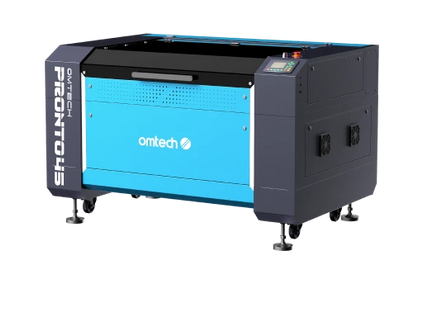
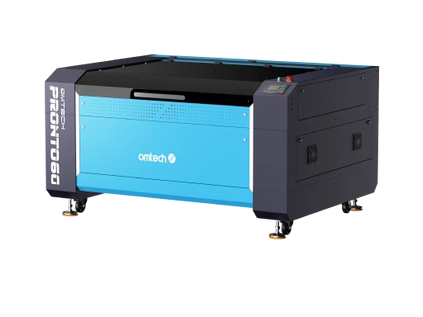
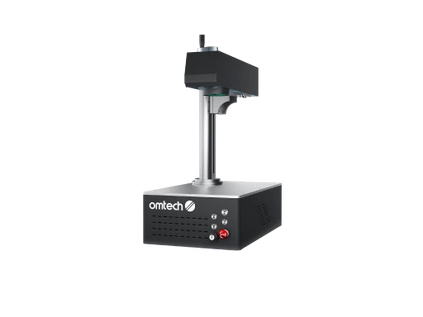
OMTech Pronto Series: Larger work areas, higher power, and built-in passthroughs—perfect for professionals and batch production.
All OMTech machines come with U.S.-based customer support, LightBurn compatibility, and a growing community of makers to help you learn and grow.
 wood projects by OMTech users
Get Ready for the Holiday Season
Handmade laser-cut wooden Christmas ornaments is a fun, profitable, and heartfelt way to celebrate the season. With the right ideas, tools, and a reliable laser machine, you can create beautiful, personalized decorations that last for years.
So whether you're designing gifts for family, preparing for your next craft fair, or just bringing creativity into the classroom—start now and let your imagination glow.
Ready to make wooden ornaments your new holiday tradition? Explore OMTech's full line of laser engravers today and bring your vision to life.


