How to Choose the Best Embroidery Machine for Hats

Embroidering hats can be both a lucrative business and a rewarding hobby, but only if you have the right tools. A standard embroidery machine may do just fine on flat fabrics like t-shirts or towels, but hats present a different challenge. Their curved surfaces, stiff structures, and limited stitching area require specific features only a hat-compatible embroidery machine can offer.
If you're wondering what makes the best embroidery machine for hats—or if you're buying one for the first time—this guide will walk you through the essential criteria, features to look for, and how to match a machine to your goals.
Why Hat Embroidery Is Different
Hats—especially structured baseball caps, trucker hats, and snapbacks—aren’t like other apparel. They feature rigid construction, thick seams, and a natural curve. These factors can make standard embroidery difficult without damaging the product or producing sloppy stitching.
That’s why hat embroidery requires:
-
A special hoop or cap frame to stabilize the curve
-
Clearance under the needle for bulkier materials
-
Tight tension control for clean, precise stitching
-
Accurate needle strike to prevent puckering or skipped stitches
Machines designed with these needs in mind will offer better results and faster production with less trial and error.
How to Choose the Best Embroidery Machine for Hats
When you are considering purchasing a embroidery machine for hats, here are the key features to look for in a hat embroidery machine.
1. Dedicated Cap Frame System
The most important feature is a proper cap frame or cap driver. This attachment holds the hat tightly and allows it to rotate smoothly around the needle path.
Look for:
-
A cap frame that wraps at least 270° around the hat
-
Quick-swapping capability between cap and flat hoops
-
Adjustable frame tension for different hat types (snapbacks, visors, beanies)
Some high-end machines offer systems that switch between flat and cap setups in minutes, streamlining your workflow.
2. Adjustable Presser Foot and Thread Tension
The thickness of hats varies—think puffy foam fronts, mesh backs, or stitched panels. An adjustable or auto-adjusting presser foot allows the machine to adapt on the fly, maintaining even pressure for consistent results.
Bonus: If you're embroidering 3D puff designs, a flexible presser foot makes it easier to layer foam and stitch dense satin columns without jamming.
Similarly, fine control over upper thread and bobbin tension ensures that stitches sit correctly on the surface without loose loops or thread breaks.
3. Low Needle Strike Positioning
For commercial-quality hat embroidery, the machine’s needle must be able to reach low on the front panel—just above the brim. This is where most logos and designs are placed.
Some machines feature a bobbin hook and strike plate setup that enables very low embroidery positioning. This is essential if you want professional placement or plan to replicate common retail designs.
4. Speed and Production Efficiency
If you’re producing hats for business—say, a team order of 30 caps—then speed matters. Look for:
-
High stitch-per-minute (SPM) rates—around 1000+ is ideal
-
Quick hooping/unhooping capability
-
Reliable multi-head systems for bulk orders
Some users report switching from older or entry-level machines to commercial models and seeing production double or triple thanks to improved workflow and automation.
5. Design and Software Compatibility
Not all embroidery software is created equal. Some machines include advanced software that lets you preview how your design will wrap around a curved surface. Look for:
-
Support for DST or PES files
-
On-screen editing tools
-
Auto-digitization of flat logos into curved designs
Good software makes setup faster, reducing trial and error when testing new designs.
6. Ease of Maintenance and Support
Hat embroidery machines tend to see frequent use, especially in business settings. Over time, they’ll require regular maintenance—lubricating the rotary hook, cleaning the bobbin area, checking timing, etc.
A machine with good customer support, an easy-to-navigate manual, and an active user community can make all the difference when you hit a snag.
Some manufacturers even offer tech support that can walk you through common problems like timing fixes over the phone—a lifesaver for busy shops.
What Type of Machine Is Right for You?
Here’s how to match machine type to your needs:
Beginners / Hobbyists
Start with a single-needle machine that has optional cap frames. It’ll be slower but offers room to grow as you learn. Make sure the frame can wrap securely around the cap.
Side Hustlers / Small Shops
A multi-needle machine with cap capabilities will boost production and allow you to stitch more complex logos or multi-color designs without changing thread manually.
Commercial Businesses
Look for 4- to 6-head commercial machines with auto thread trimming, fast frame swapping, and bulk order capacity. Speed, consistency, and support matter most here.
Other Considerations
-
3D Puff Capability: If you plan on embroidering raised designs, make sure the machine can handle thick foam and dense stitching.
-
Flat vs. Structured Caps: Some machines handle structured caps better due to added pressure and frame stability.
-
Beanies & Soft Caps: These require less rigidity and more care with tension settings but are great for soft flat hoops.
What About OMTech?

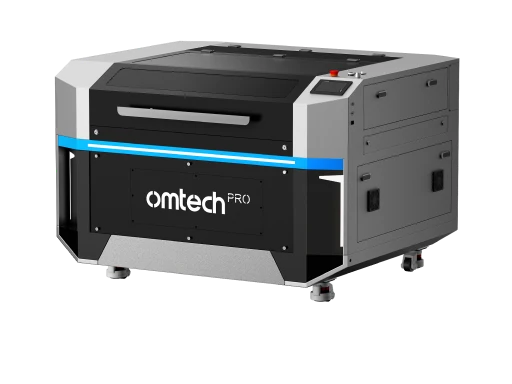
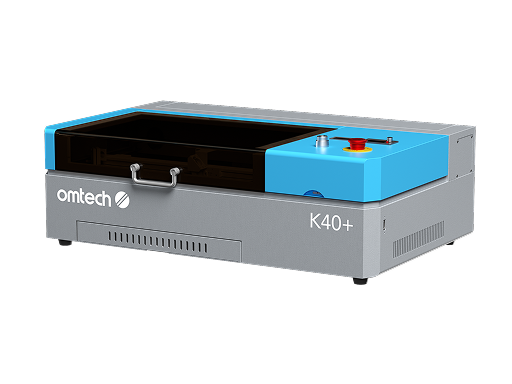
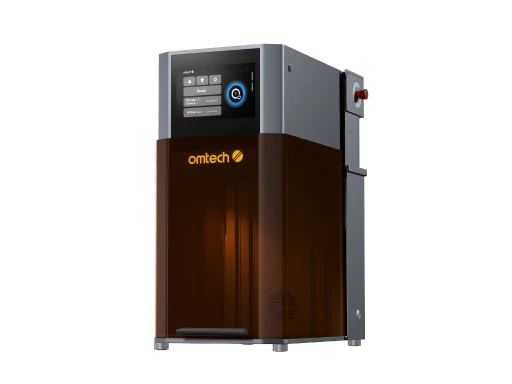
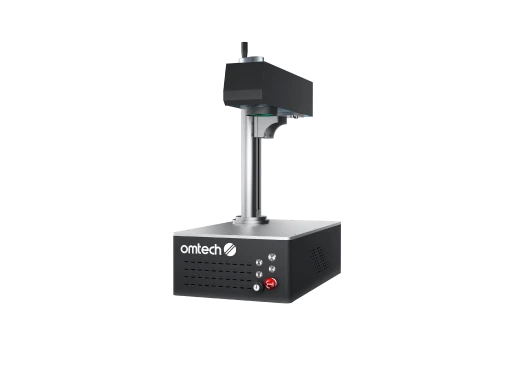
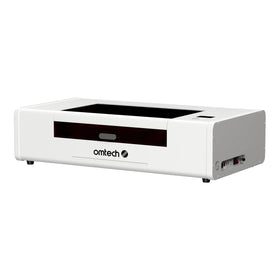
If you’re planning to start an embroidery business or expand your custom product offerings, OMTech’s embroidery machines are a great option—especially for flat materials and apparel like t-shirts, sweatshirts, tote bags, and patches.
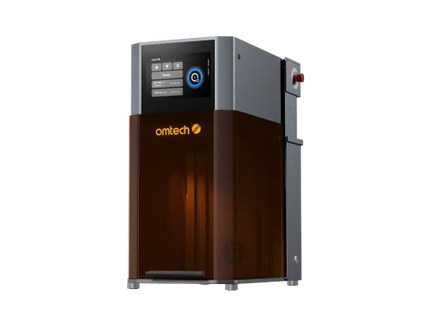
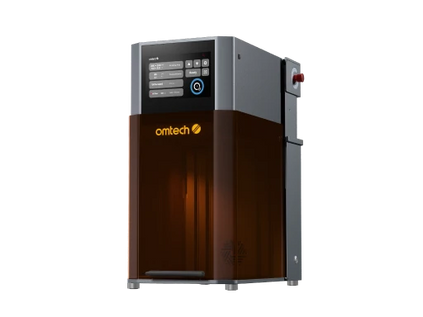
For creators and small businesses looking for a versatile solution, the OMTech Pulse 15-needle commercial embroidery machine offers strong cap embroidery capabilities alongside flat and garment embroidery. With a dedicated cap embroidery system, automatic color changes across 15 needles, a wide embroidery area, and speeds up to 1,000 stitches per minute, the Pulse is built to handle structured baseball caps as well as apparel, accessories, and patches. Features like intuitive touchscreen controls, thread-break detection, and efficient frame switching help reduce setup time and keep production consistent across orders.
Final Thoughts
Choosing the best embroidery machine for hats depends on your goals, experience level, and production needs. Whether you’re customizing one-off caps for friends or running a thriving embroidery shop, a machine with the right cap frame system, flexible design features, and fast setup will pay for itself in saved time and improved stitch quality.
Still exploring embroidery? Consider pairing a hat embroidery machine with a flat-bed embroidery unit like OMTech’s for a versatile custom product setup. Explore OMTech’s embroidery machines—ideal for clothing, accessories, and custom gear.
